XCHandles
This guide shows how to send XCH, tokens, or NFTs to an XCHandle (@handle) in the Chia Cloud Wallet, and how handles appear on outbound transactions.
You need a Cloud Wallet account and at least one vault. If you have not created a vault yet, follow the Getting Started Guide first.
XCHandles are human-readable names that resolve to Chia addresses. Learn more at xchandles.com.
Prerequisites
- An active Chia Cloud Wallet account with at least one vault
- A valid XCHandle for the recipient (or their wallet address if they do not have one)
- Access to your vault spend key to sign the send
Send to an XCHandle
-
Log in to your Chia Cloud Wallet account.
-
Open the send form for XCH, a token, or an NFT from the vault that holds the asset.
-
In the
Send tocard, enter an XCHandle starting with@in theRecipientfield, for example@alice.- Handles use lowercase letters and digits only, 3–63 characters after
@ - You can still paste a normal address (
xch1...on mainnet,txch1...on testnet) - Until you enter a recipient, the hint below the field reminds you that wallet addresses start with the network prefix and XCHandles start with
@
- Handles use lowercase letters and digits only, 3–63 characters after
-
Wait for the lookup to finish. The Cloud Wallet resolves the handle and shows one of:
Looking up XCHandle...while the lookup is in progressResolved tofollowed by the address the handle points toWe couldn't find this XCHandle. Check the spelling and try again.This XCHandle has expired. Use a wallet address instead.We couldn't look up this XCHandle. Try again or use a wallet address.
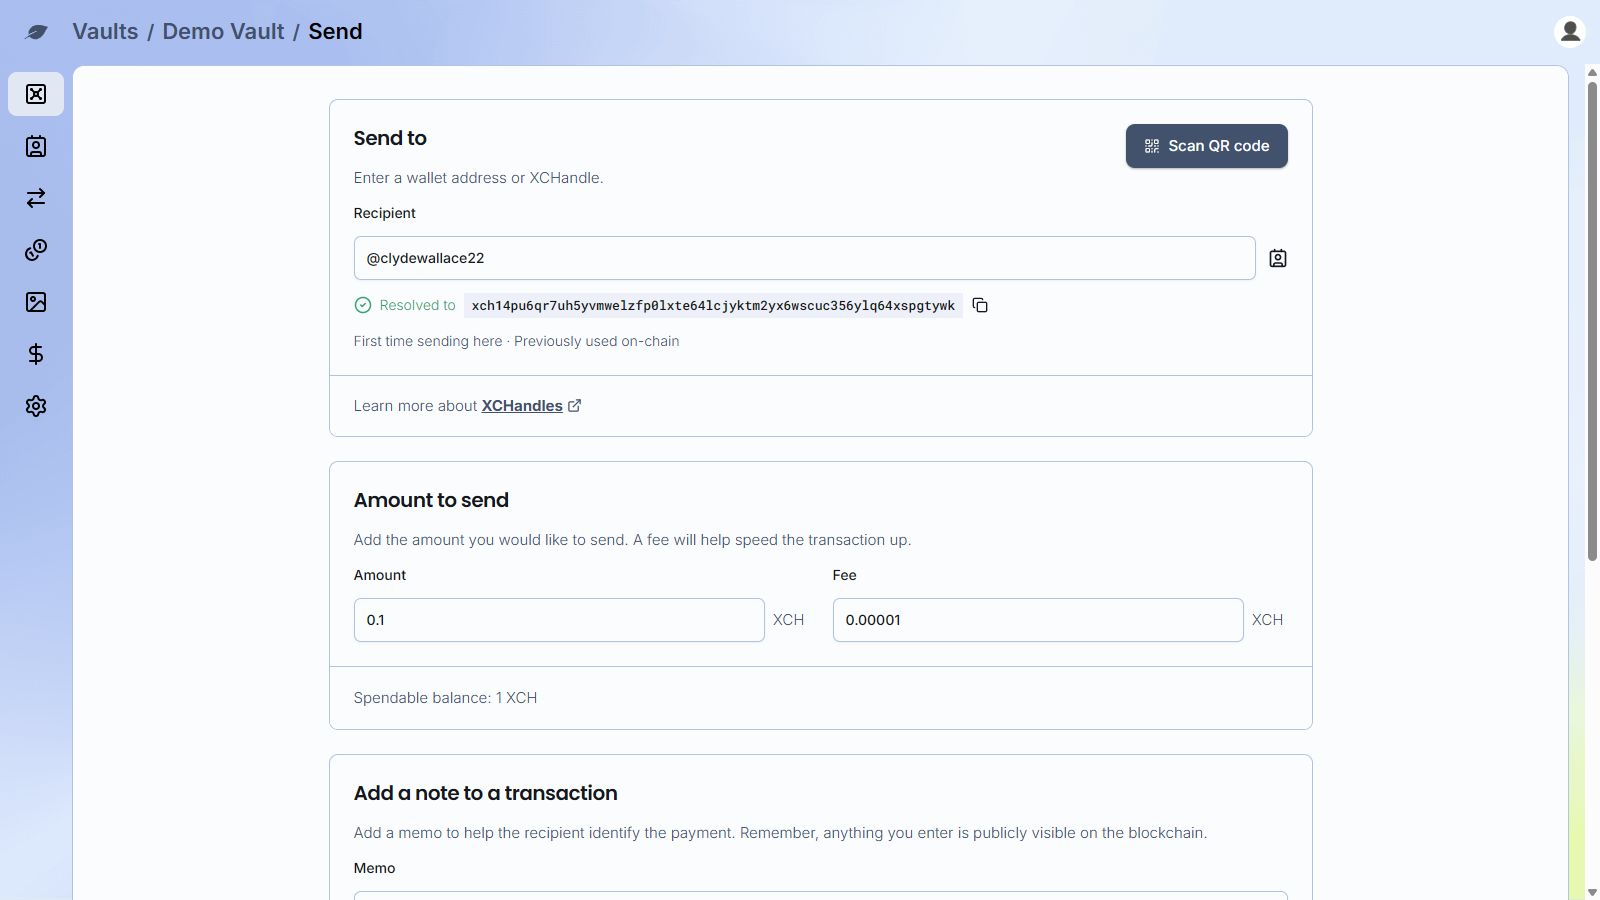
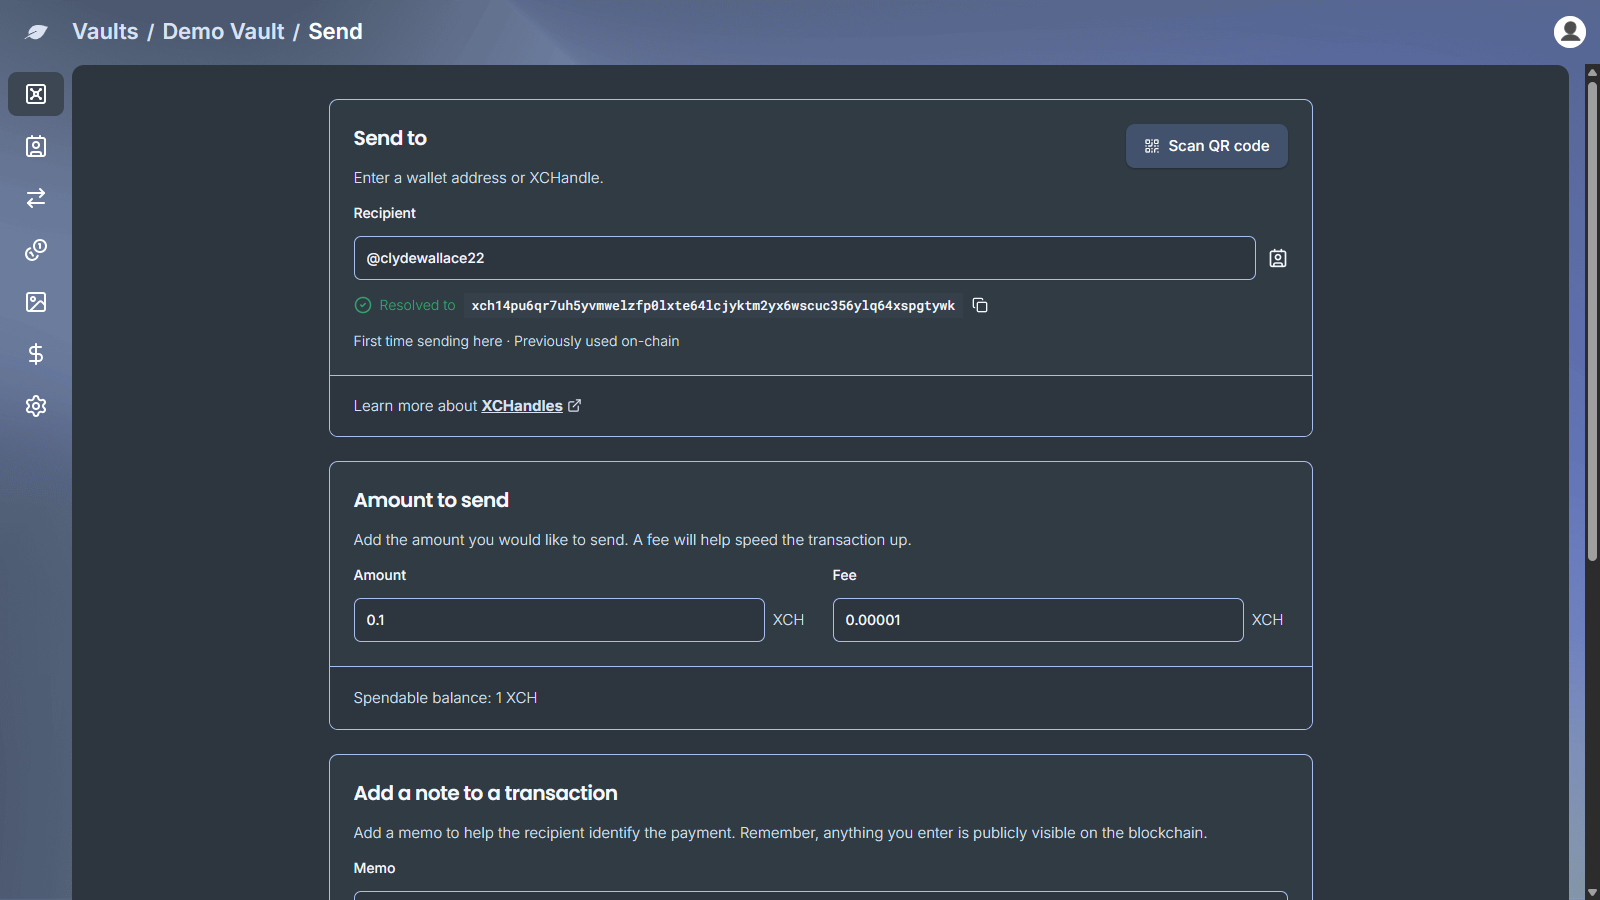
To double-check a handle before sending, open https://xchandles.com/handle/<name> (for example xchandles.com/handle/alice). The page shows the handle's resolved address and when it expires, or Not Registered if nobody owns it. The resolved address should match the one shown in the Cloud Wallet.
- Check that the resolved address is the one you expect, complete the amount, fee, and any other send options, then click
Send. TheConfirm Transactiondialog shows the handle above the recipient address. ClickSign and Sendto sign.
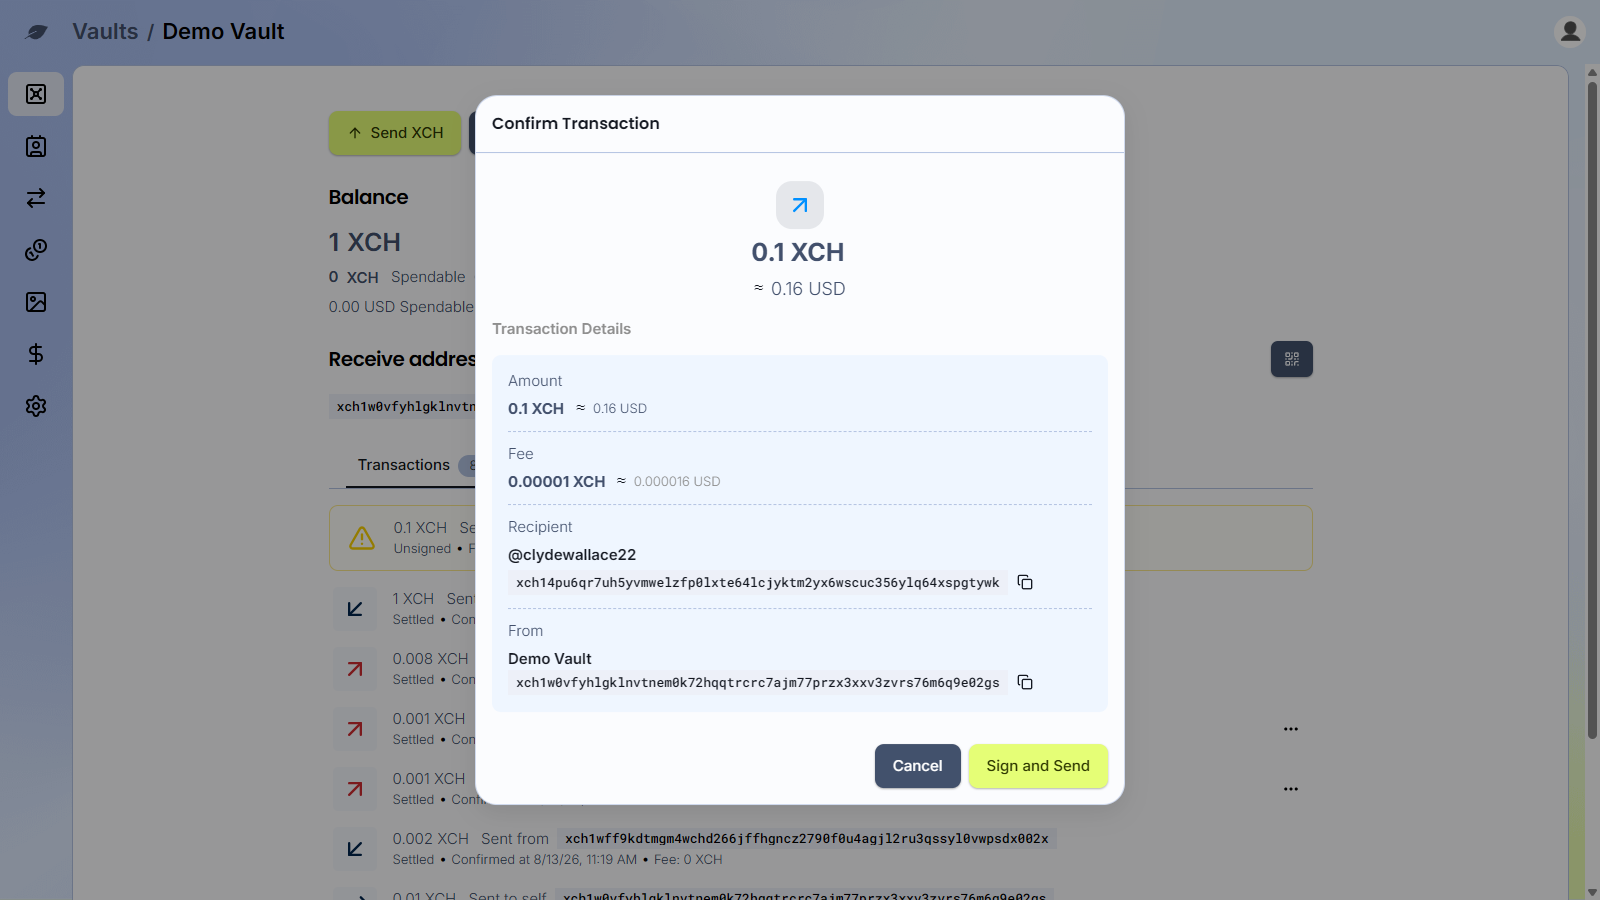
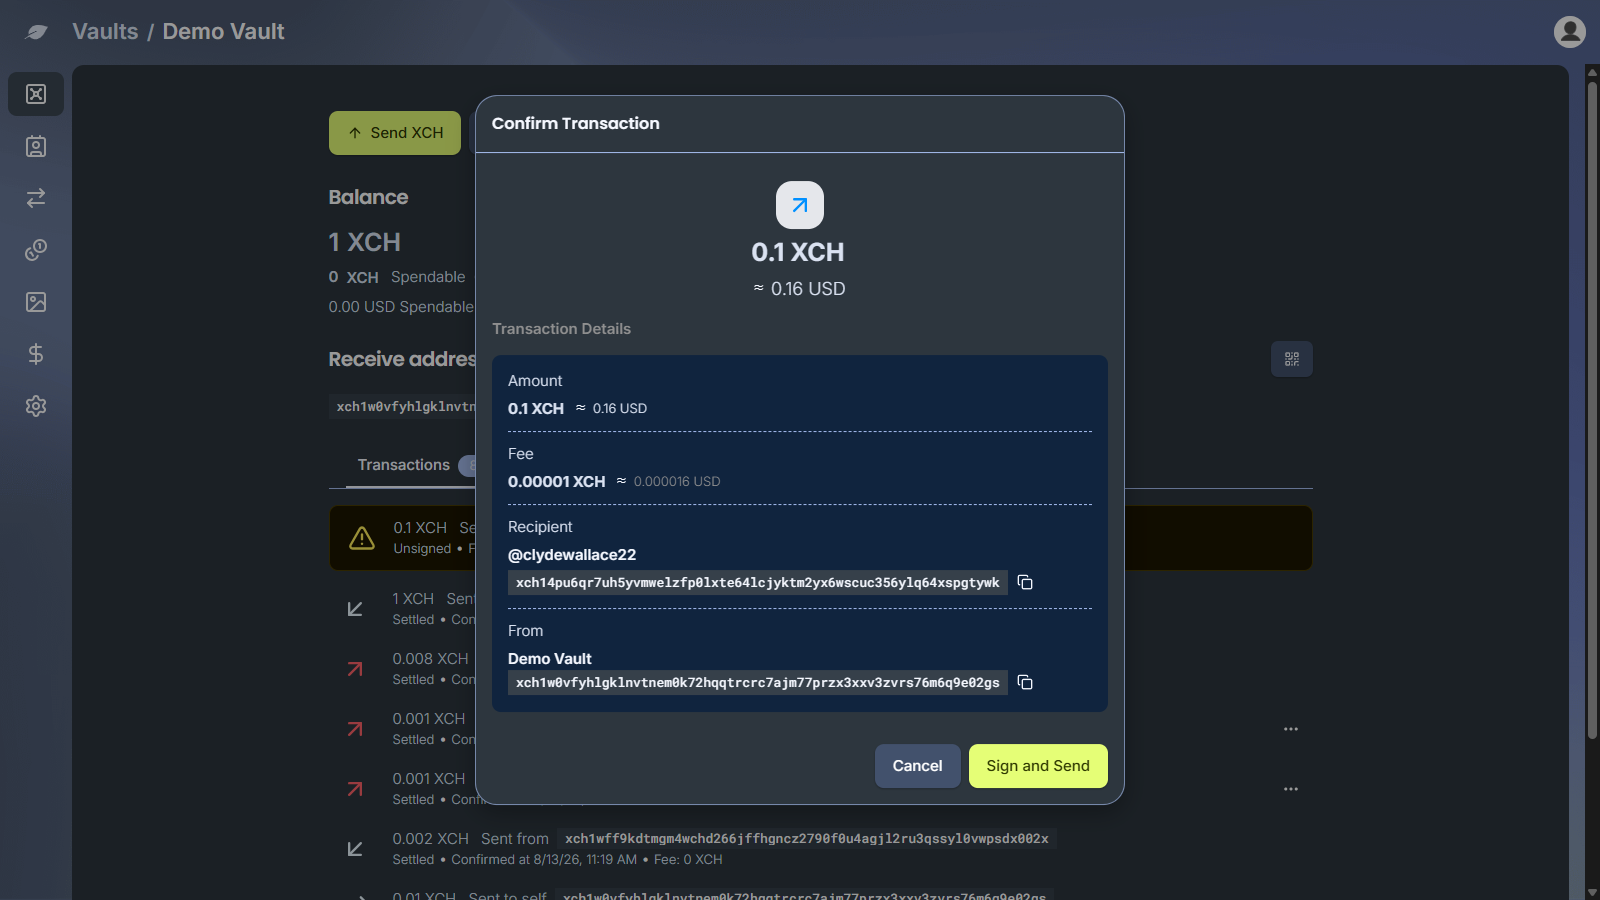
Send stays disabled for an @ recipient until the handle resolves successfully. The QR code scanner only accepts wallet addresses, not handles.
When you send, the Cloud Wallet checks the handle again. If the handle now points to a different address, the send fails with The XCHandle no longer resolves to this address. Resolve it again before sending. Re-enter the handle to look it up again.
How handles appear after you send
On outbound transfers sent to a handle:
- Activity rows show
@handleas the recipient - Transaction details show
@handleabove the underlying address
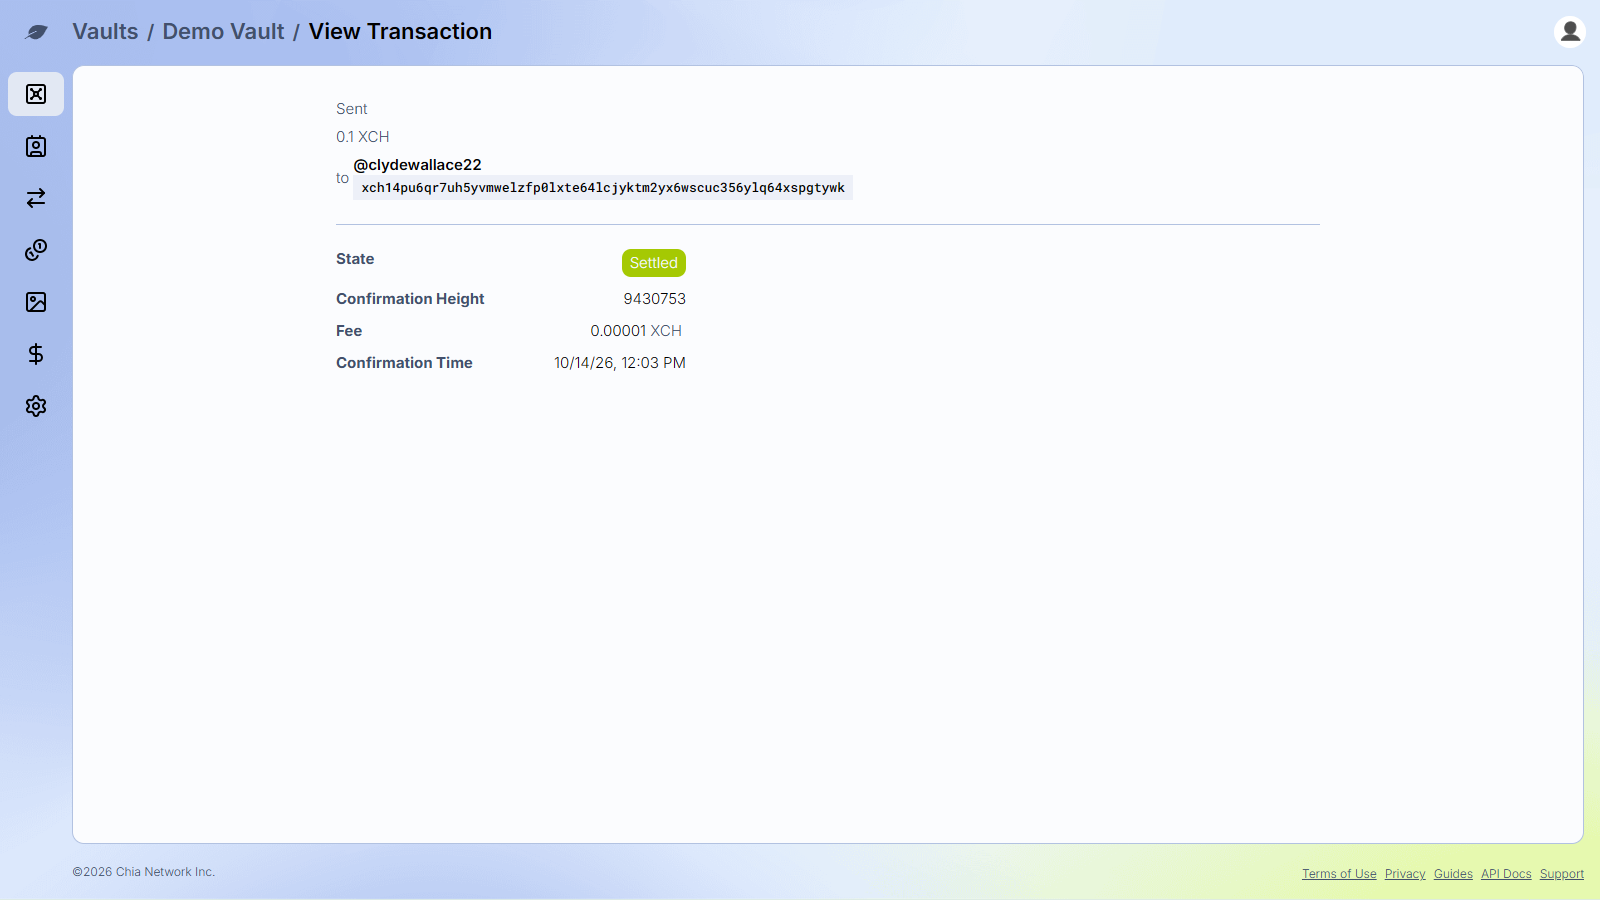
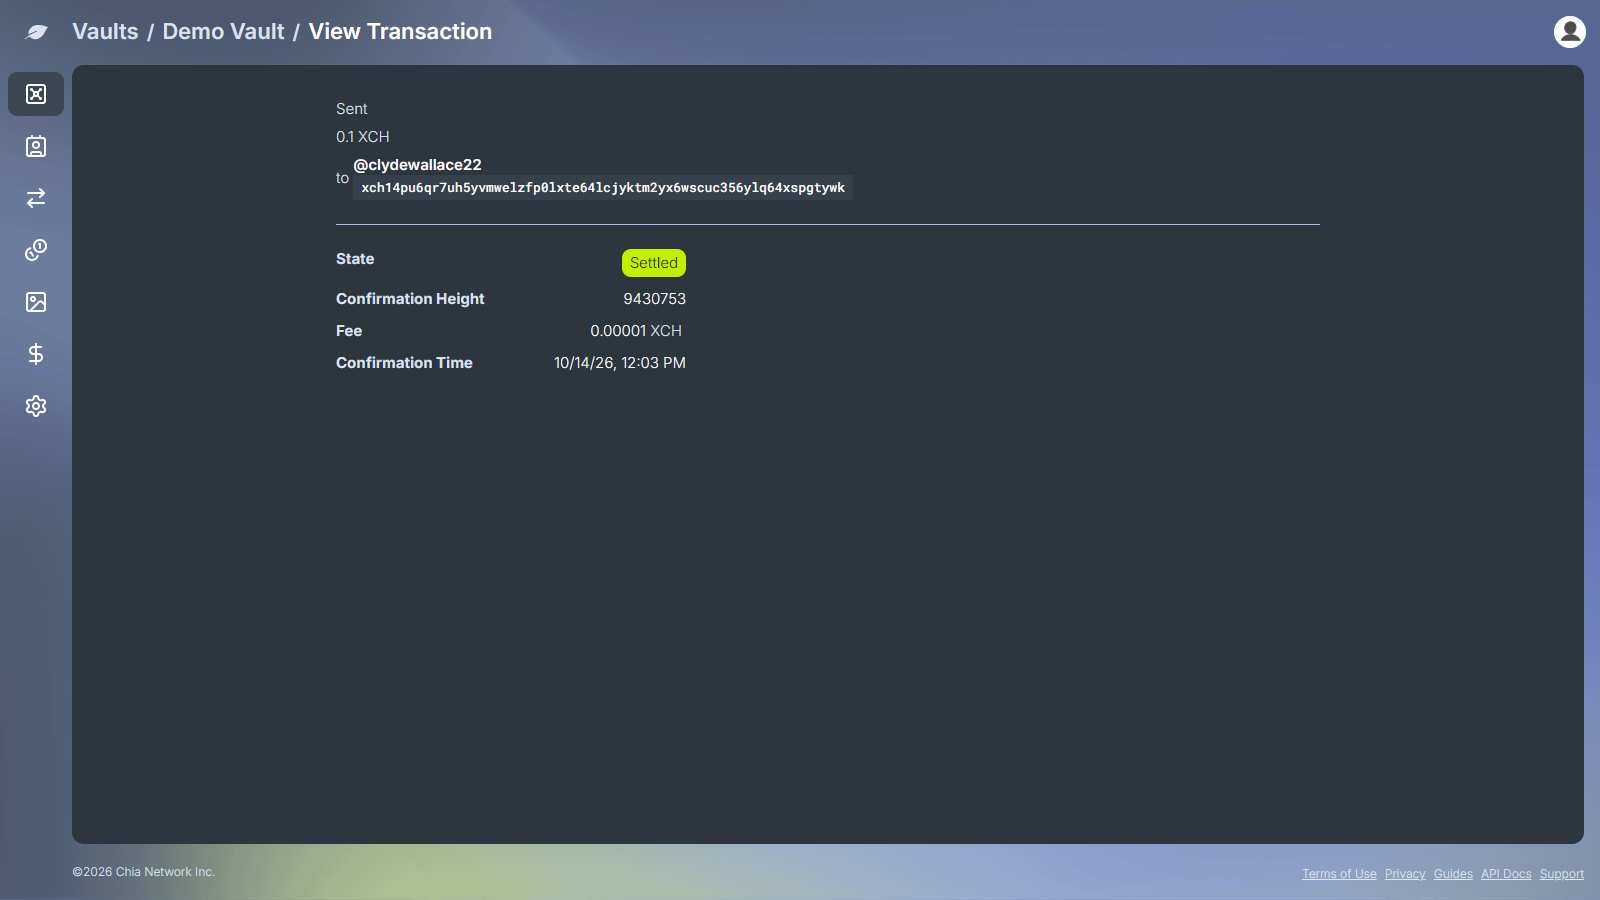
Inbound transfers do not show an XCHandle for the sender; you see the address.
Address Book and handles
Address Book stores emails and Chia addresses for contacts. You can type an XCHandle directly in the Recipient field without saving it as a contact. For contact-based sends, see Address Book.
Troubleshooting
- Use
@plus 3–63 lowercase letters or digits (no spaces, uppercase letters, or symbols) - If the lookup fails, check the spelling, try again, or paste the wallet address instead
- To confirm a handle is registered, see where it points, or check when it expires, look it up on xchandles.com
- Expired handles cannot be used for sending; use an address
- If a send fails because the handle no longer resolves to the address, enter the handle again so it resolves to its current address
- For additional support, use In App Support