Tokens
This guide shows how to view and send Chia Asset Tokens (CATs) in the Chia Cloud Wallet, how to create (mint) your own tokens, and how to set a custom display name and ticker.
You need a Cloud Wallet account and at least one vault. If you have not created a vault yet, follow the Getting Started Guide first.
Prerequisites
- An active Chia Cloud Wallet account with at least one vault
- Access to your vault spend key (Chia Signer app or passkey) to sign token send, mint, and melt transactions
- To create tokens, XCH in the vault you mint from (see Create a token)
View tokens in a vault
-
Log in to your Chia Cloud Wallet account and open the vault.
-
Select the
Tokenstab:
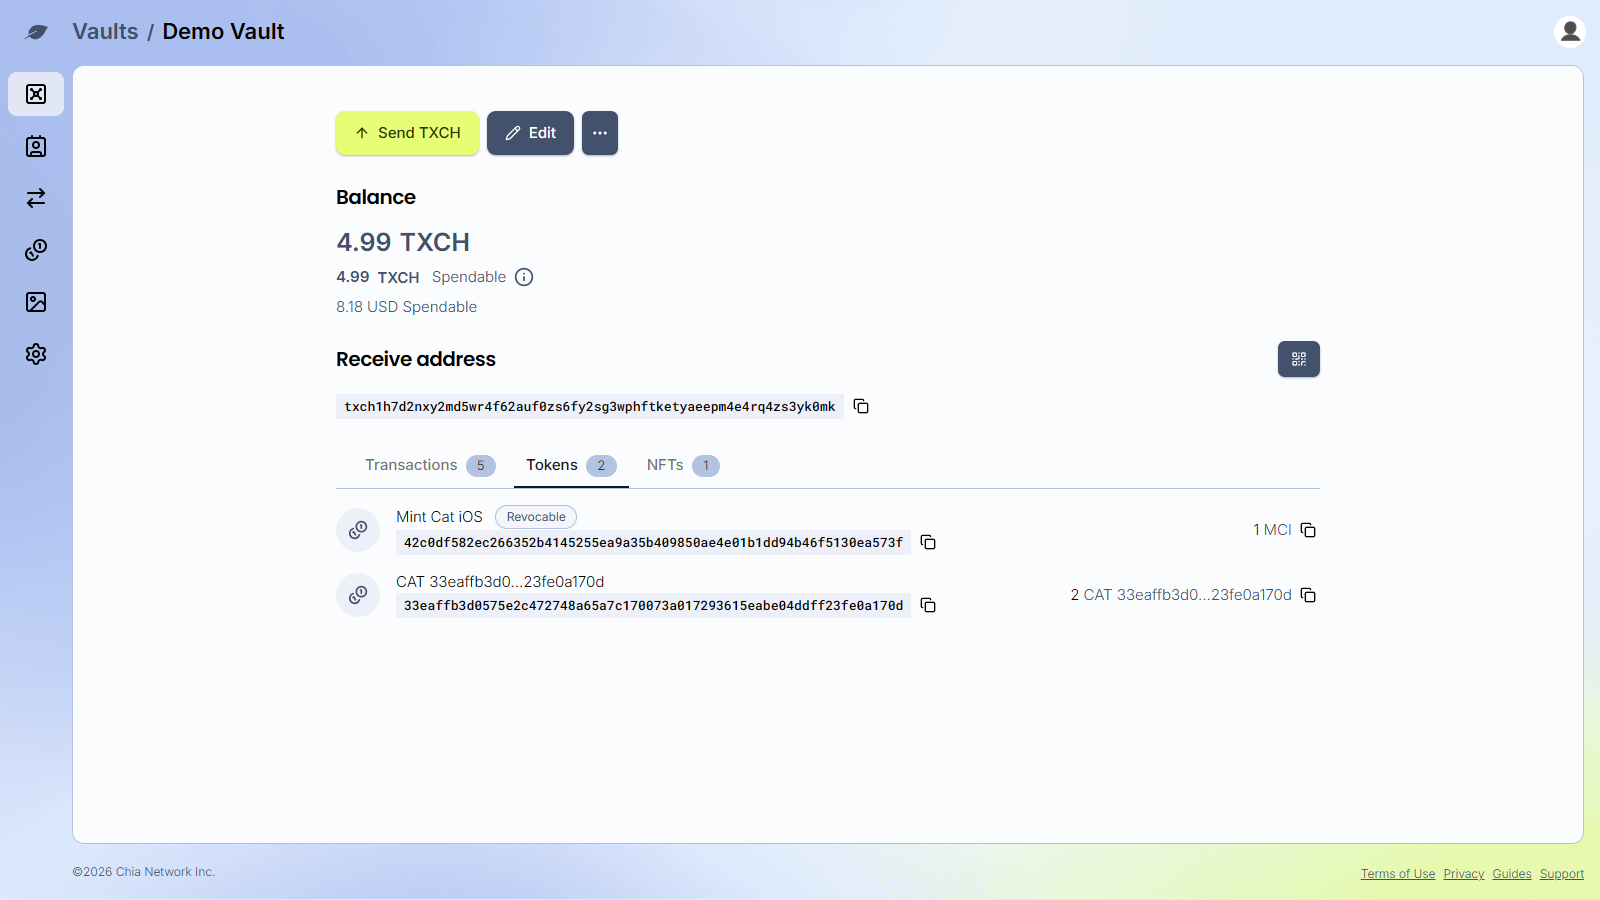
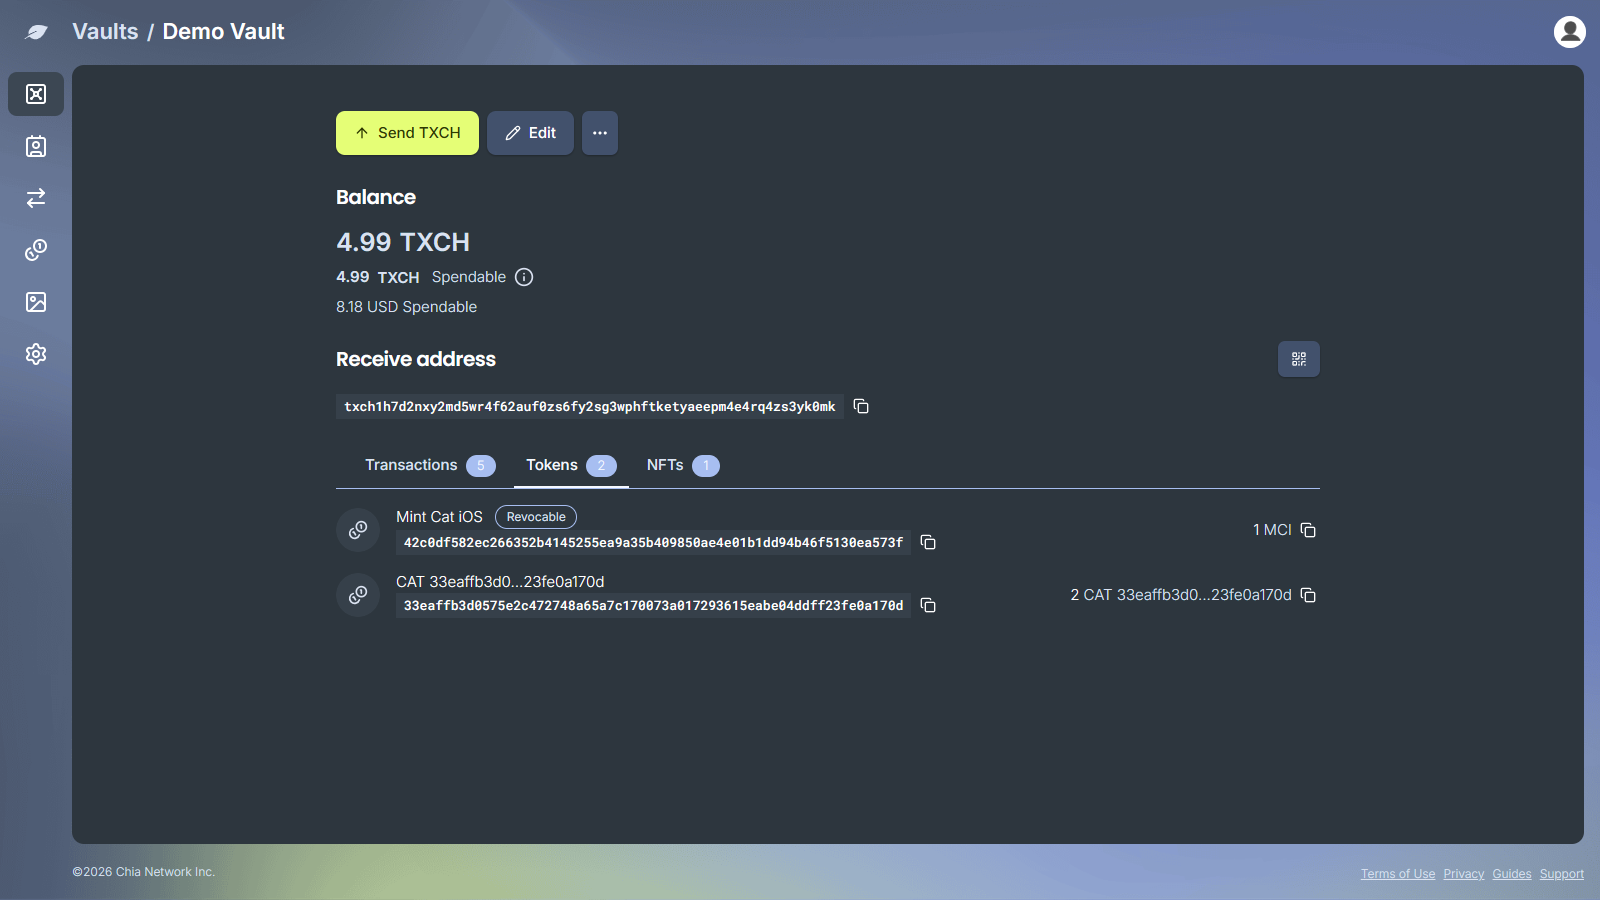
- Click a token row to open its asset page. The page shows the balance, the vault address, and recent transactions for that token.
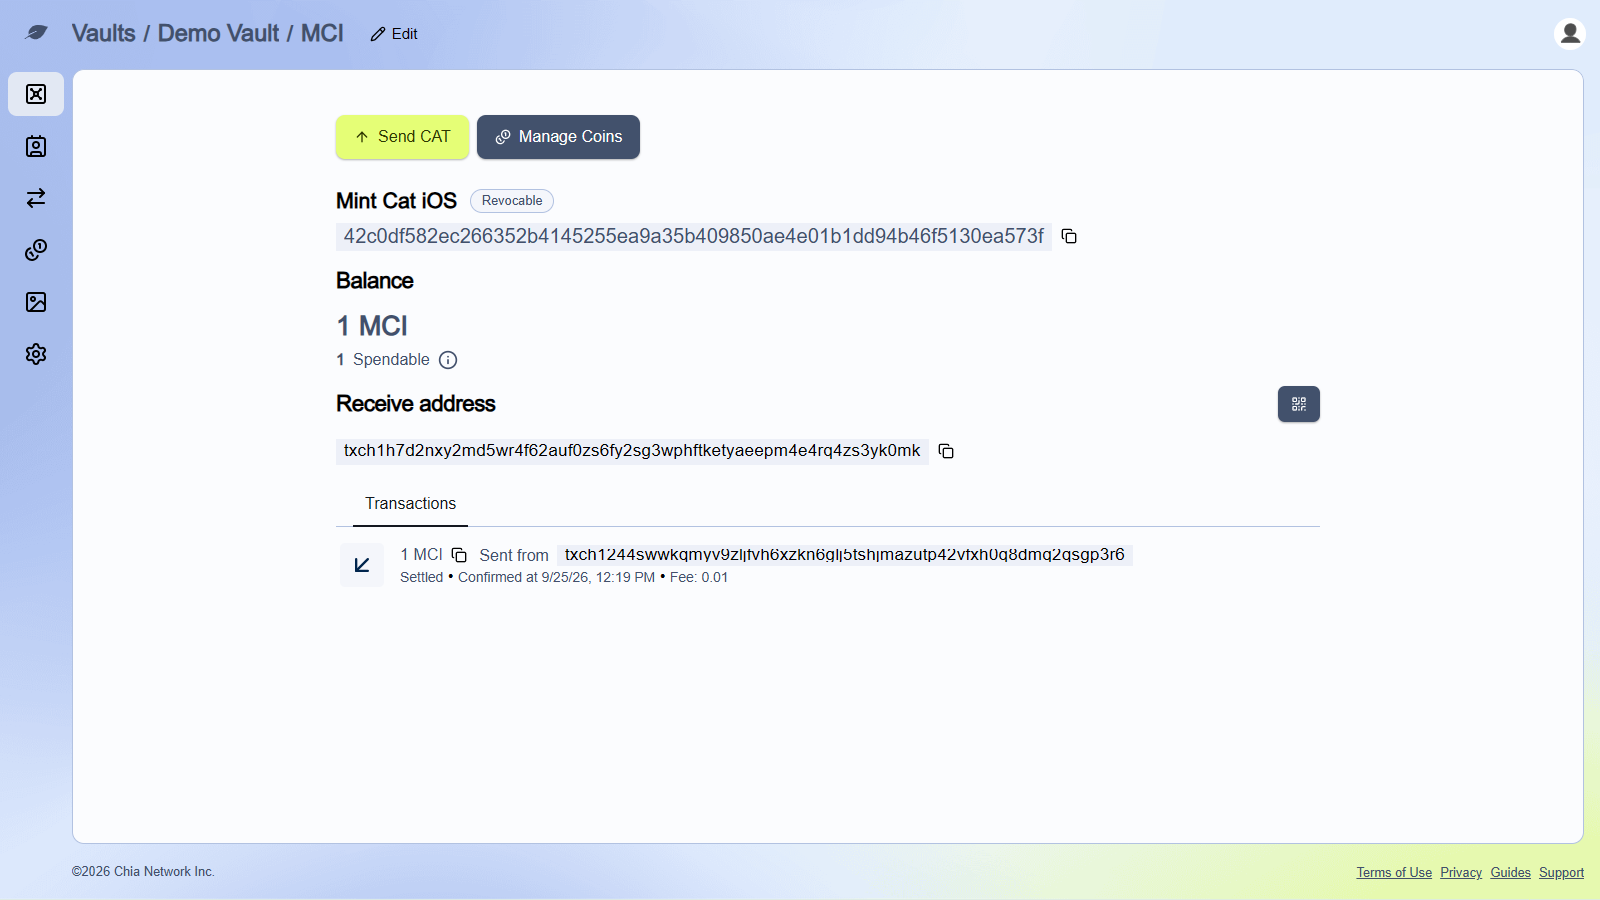
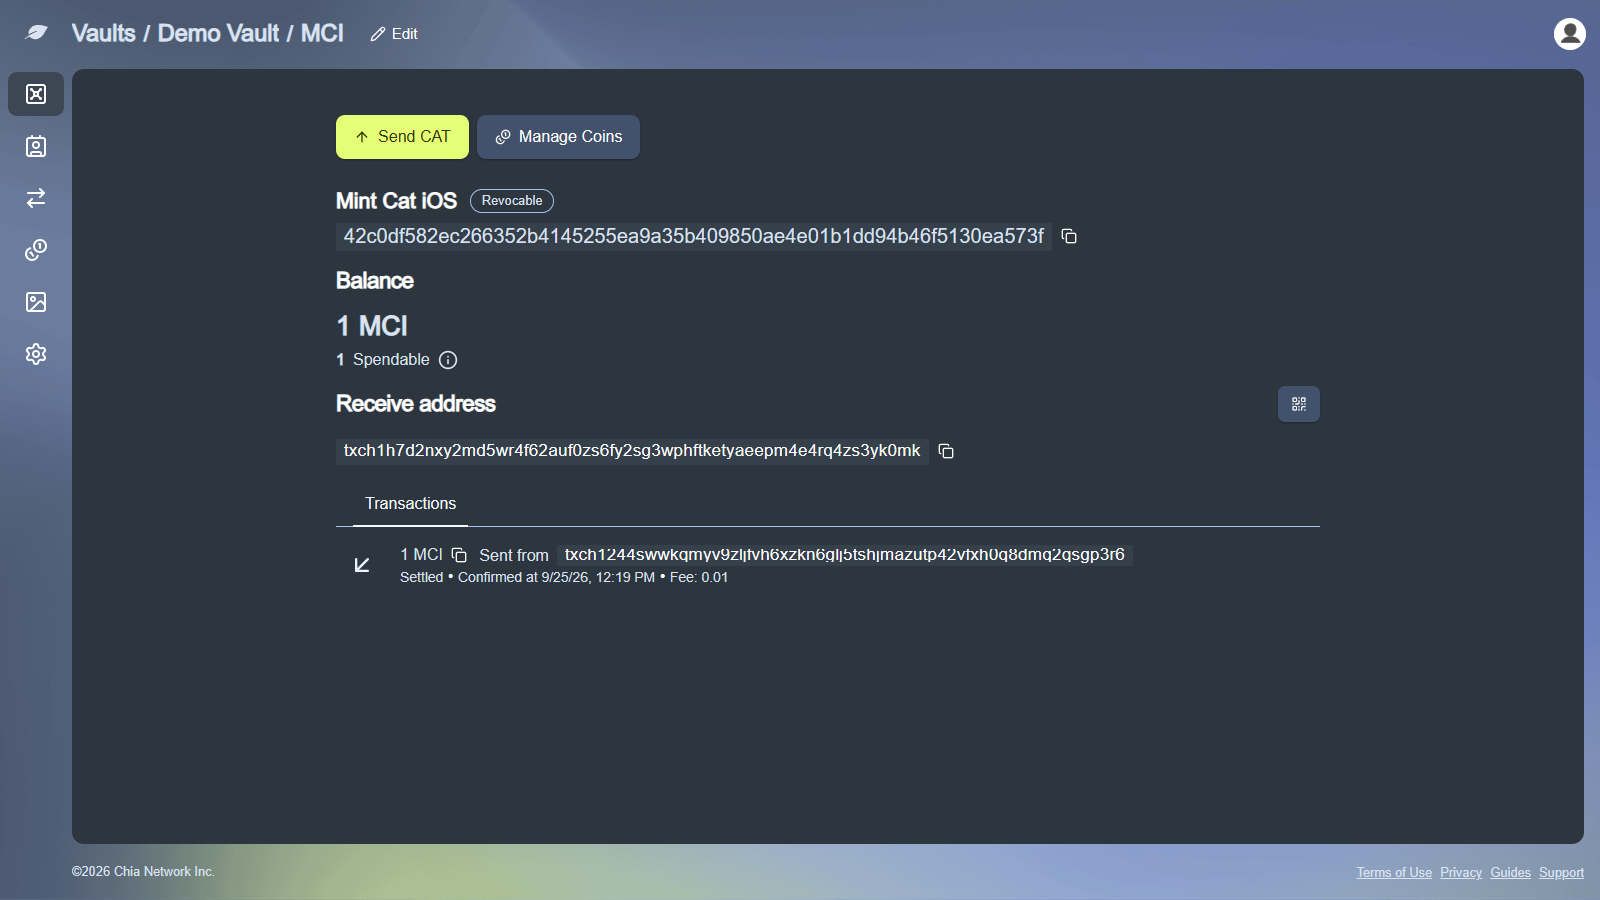
If the vault has not received any tokens yet, the tab shows No tokens yet. Tokens appear after they arrive in the vault.
Send a token
-
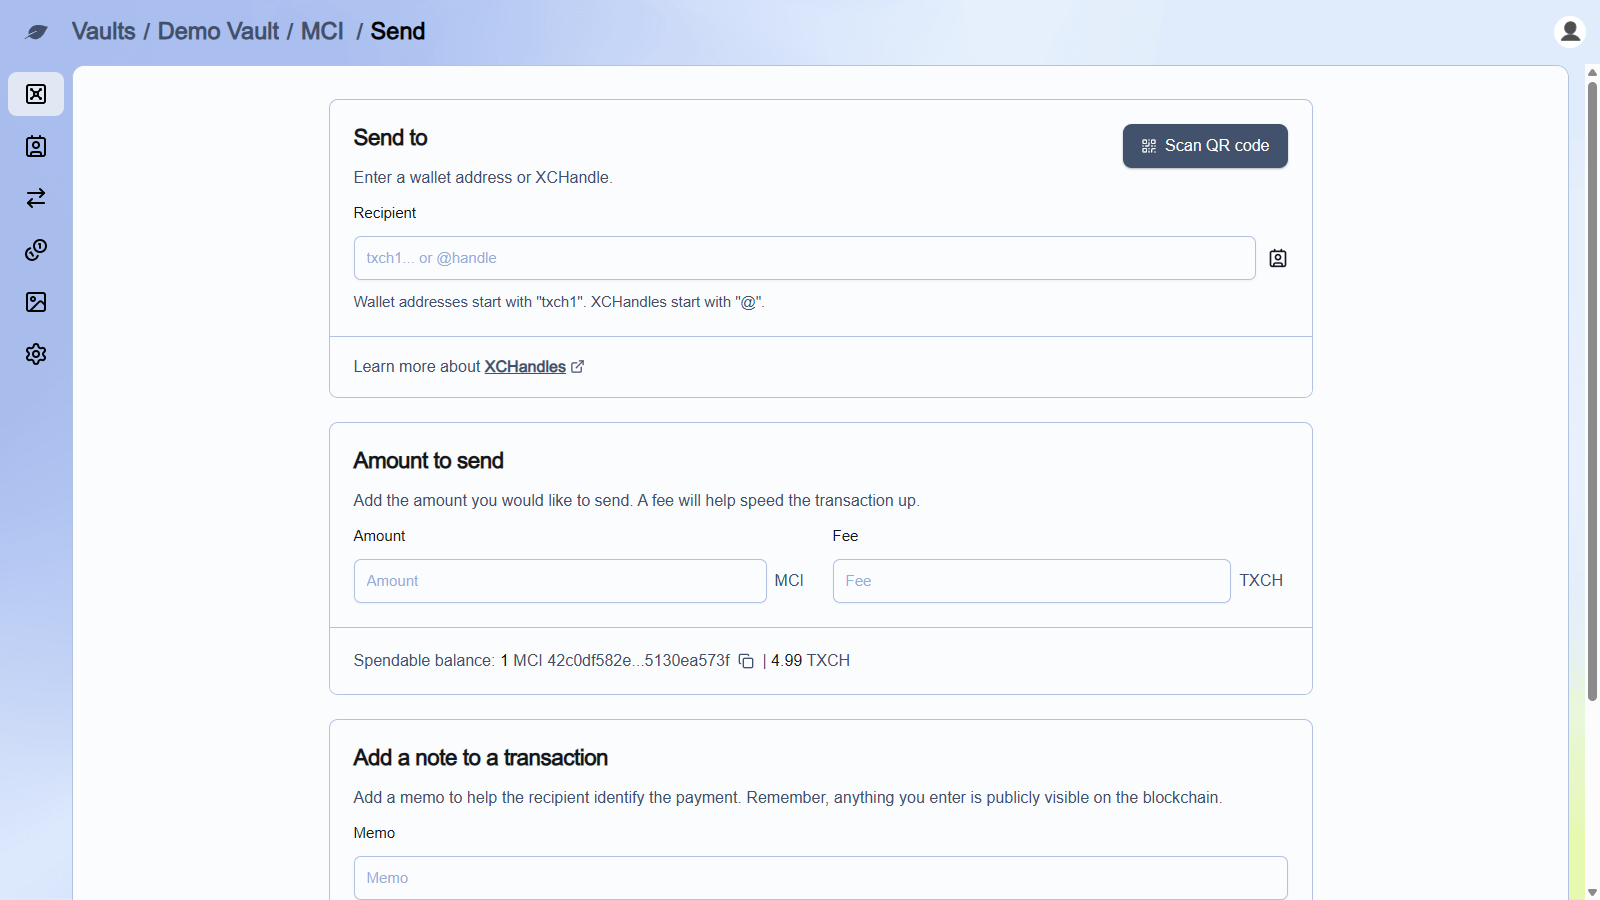
From the token asset page, click
Send CAT. -
Under
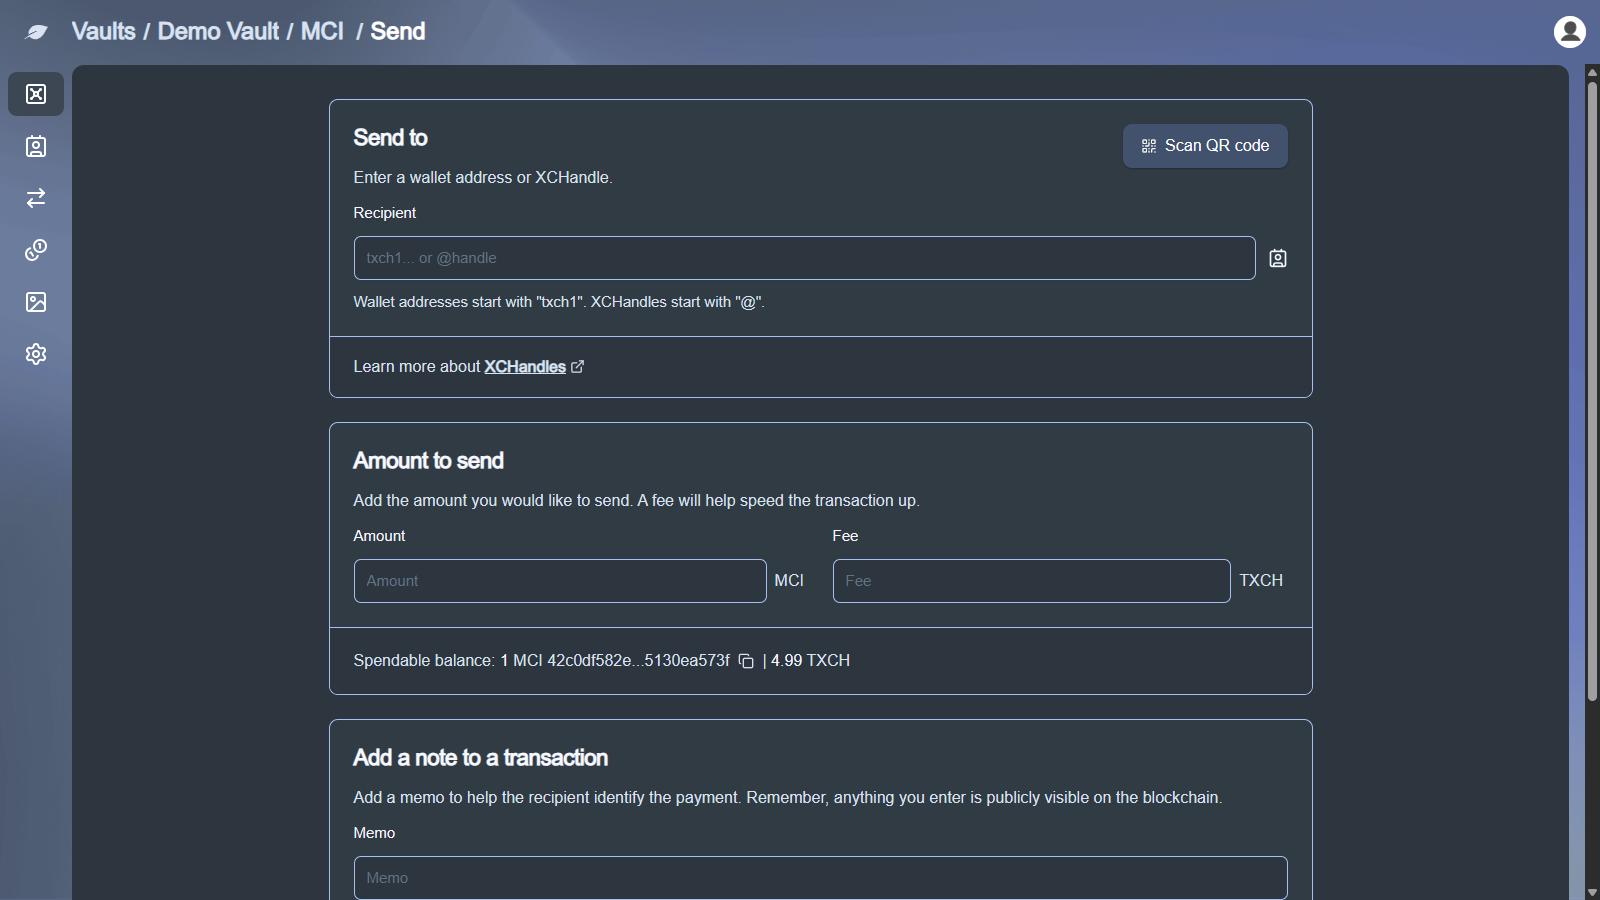
Send To, enter or paste the destinationAddress, pick a saved contact, or useScan QR Code. Addresses start withxchon mainnet. -
Under
Amount to send, enter theAmountand an optionalFee. -
Optionally add a
Memo.
- Click
Send. Review theConfirm Transactiondialog (Sign and Sendfor a passkey, or approve the request in the Chia Signer app).
The fee is paid in XCH. Check Spendable balance on the send form before you submit.
If the vault is still being minted, the send form shows This vault is currently being minted. You cannot perform transactions until the minting process is complete.
Create a token
You can create (mint) your own CAT from any of your vaults. Tokens you create are listed on the Tokens page in the sidebar. This page is separate from a vault's Tokens tab, which lists every CAT the vault holds.
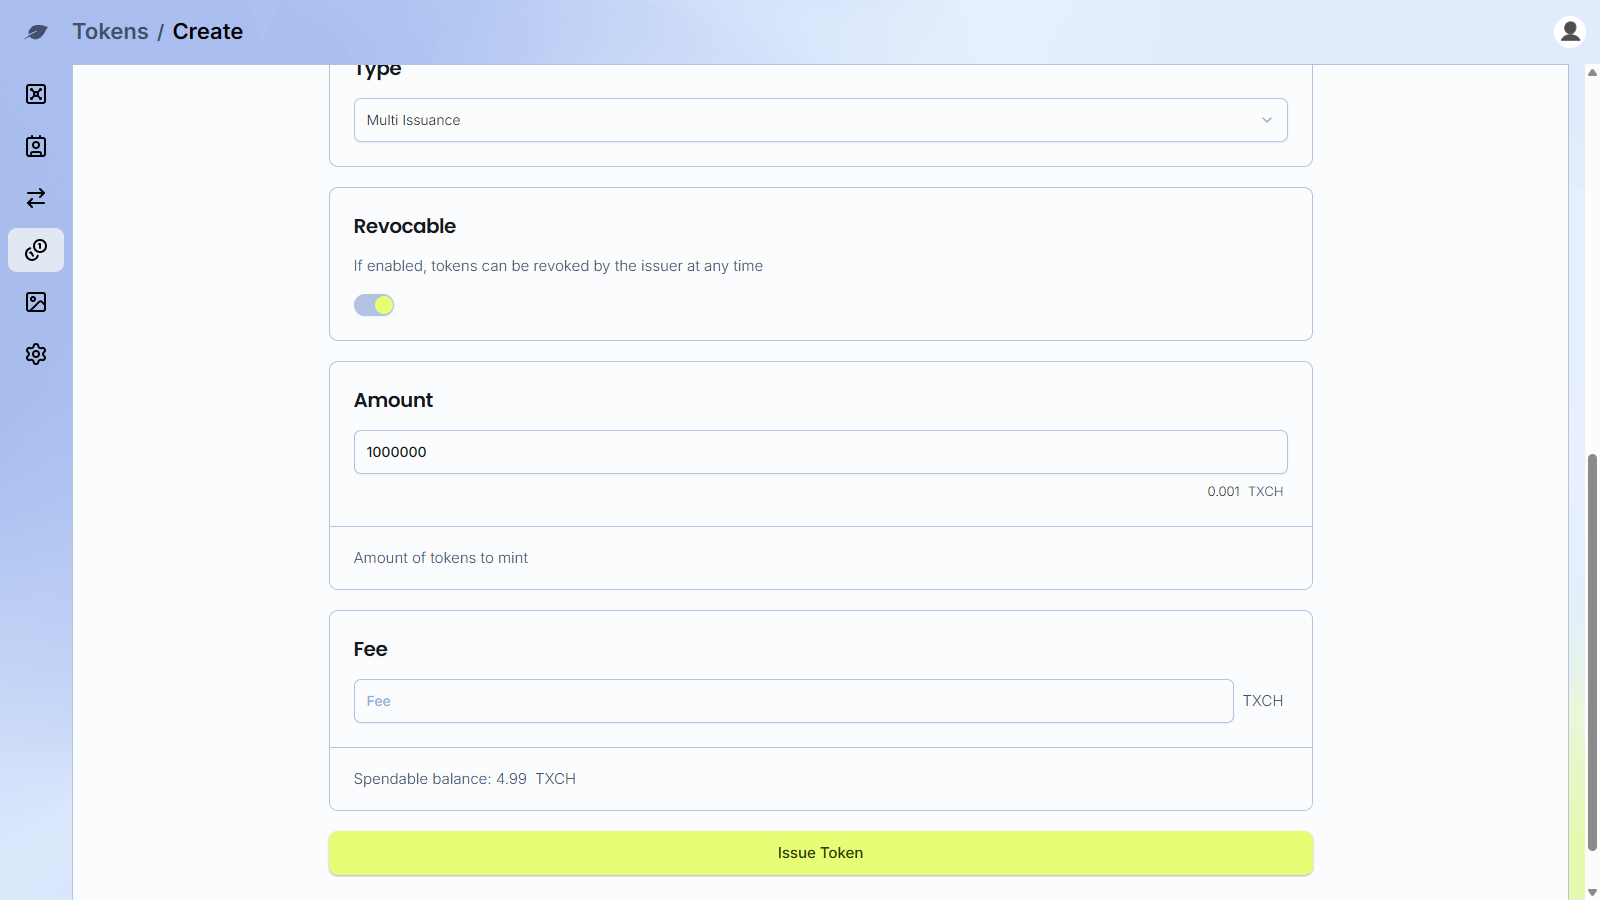
Every CAT is backed by XCH. Each token you mint uses 1,000 mojos (0.000000001 XCH) from the vault, so 1,000,000 tokens uses 0.001 XCH. The XCH equivalent shows under Amount as you type. The vault must have enough spendable XCH for the amount plus the fee.
-
Click
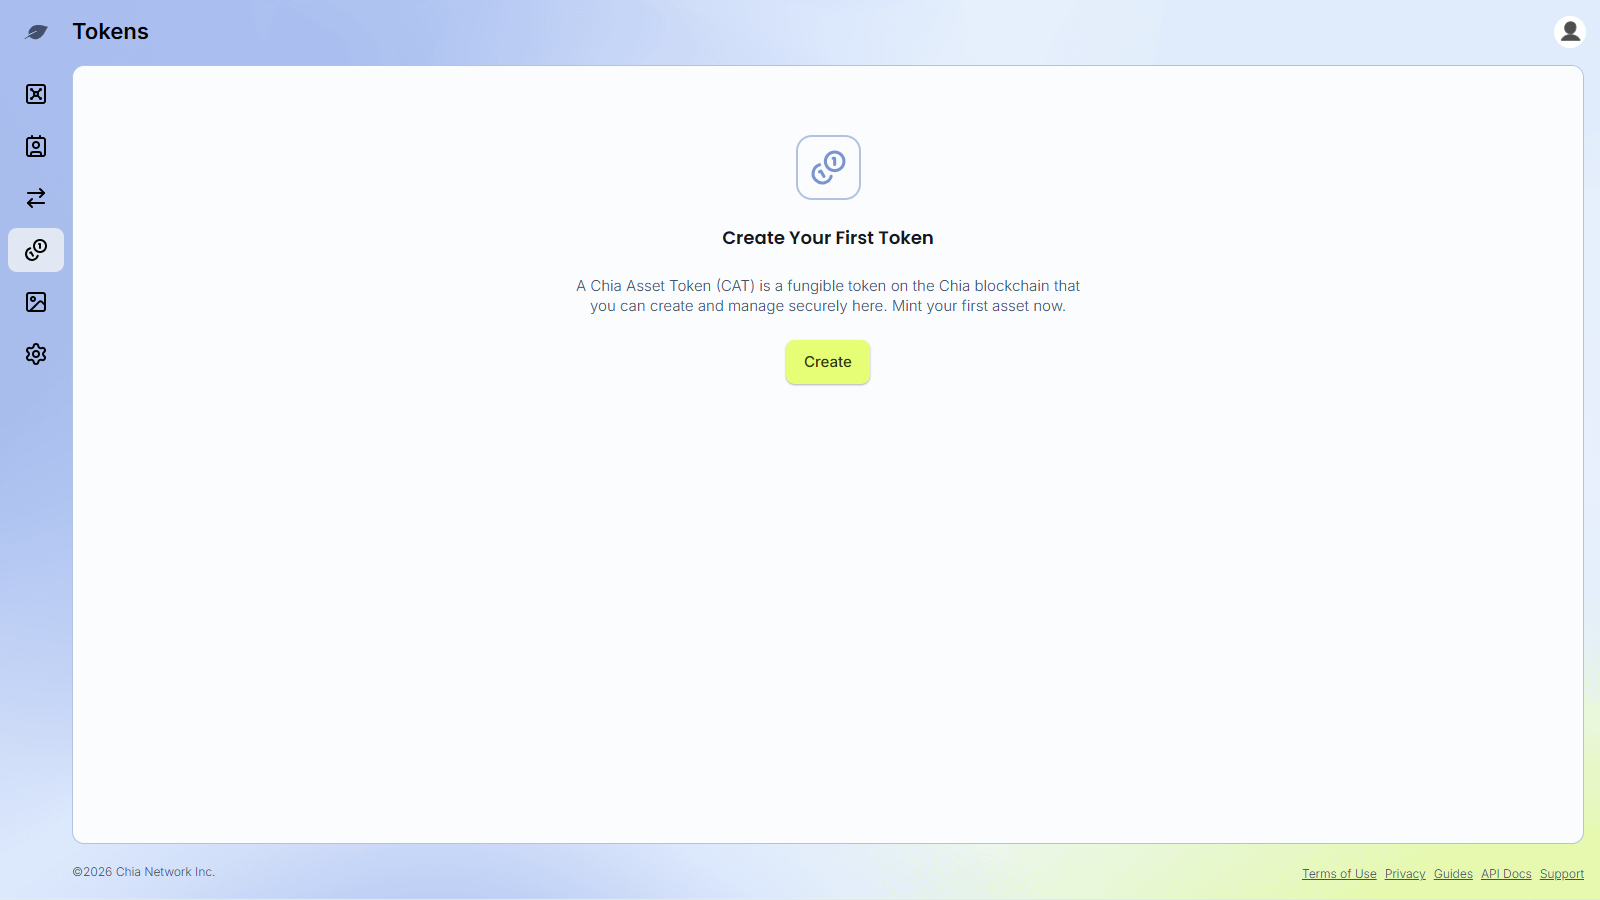
Tokensin the sidebar (on mobile, open the menu and selectTokens). -
Click
Createif you have not created a token yet, orAdd Tokenif you have.
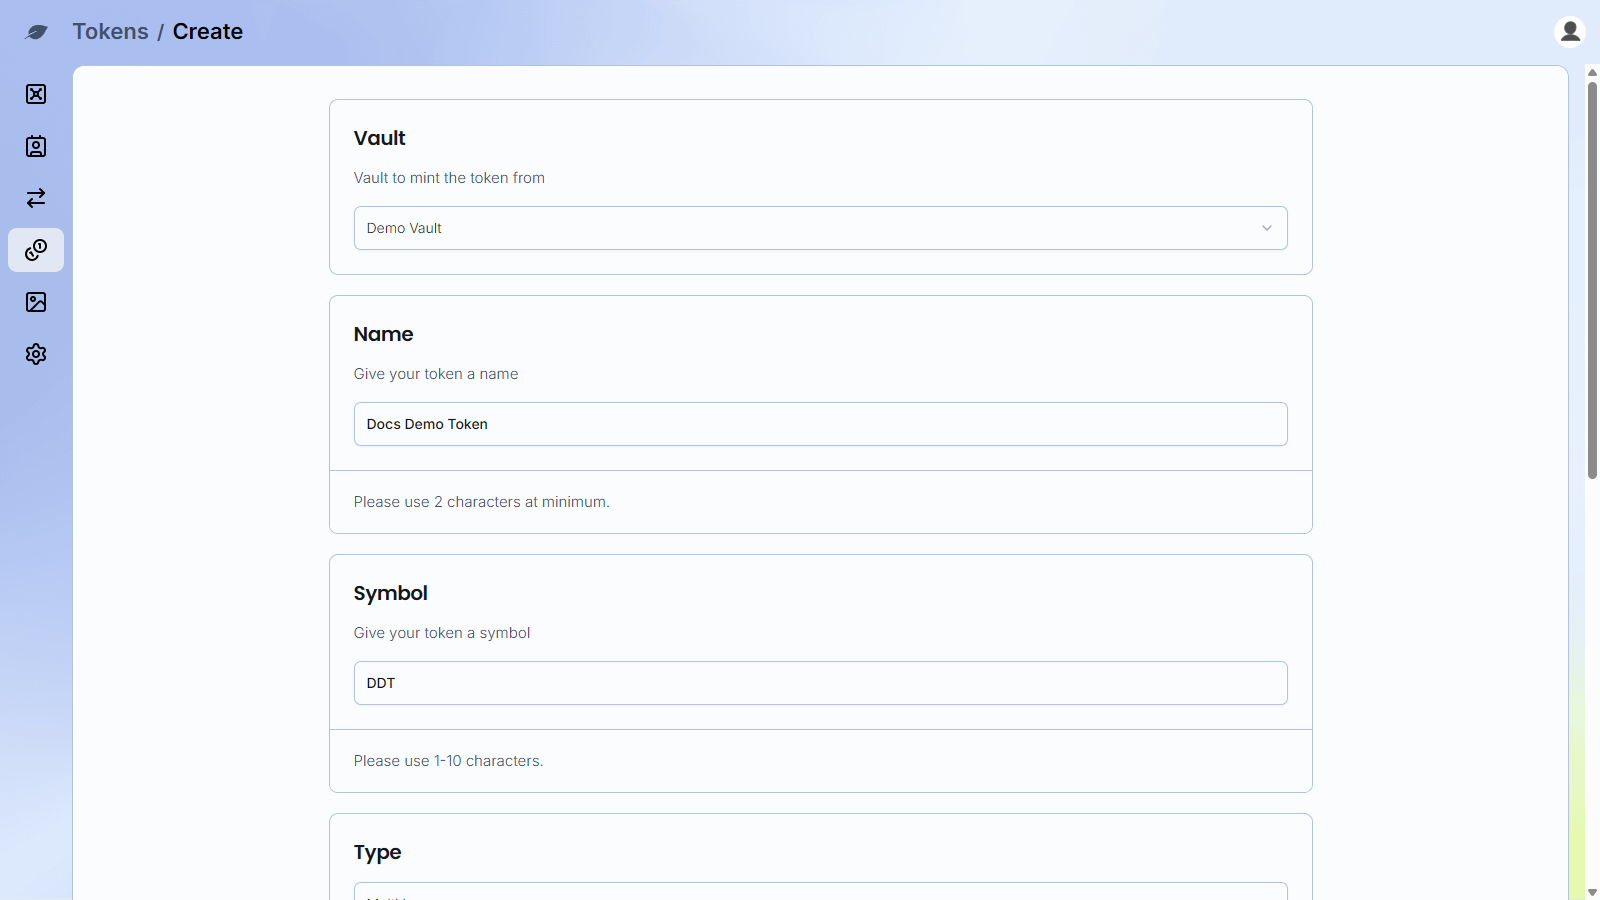
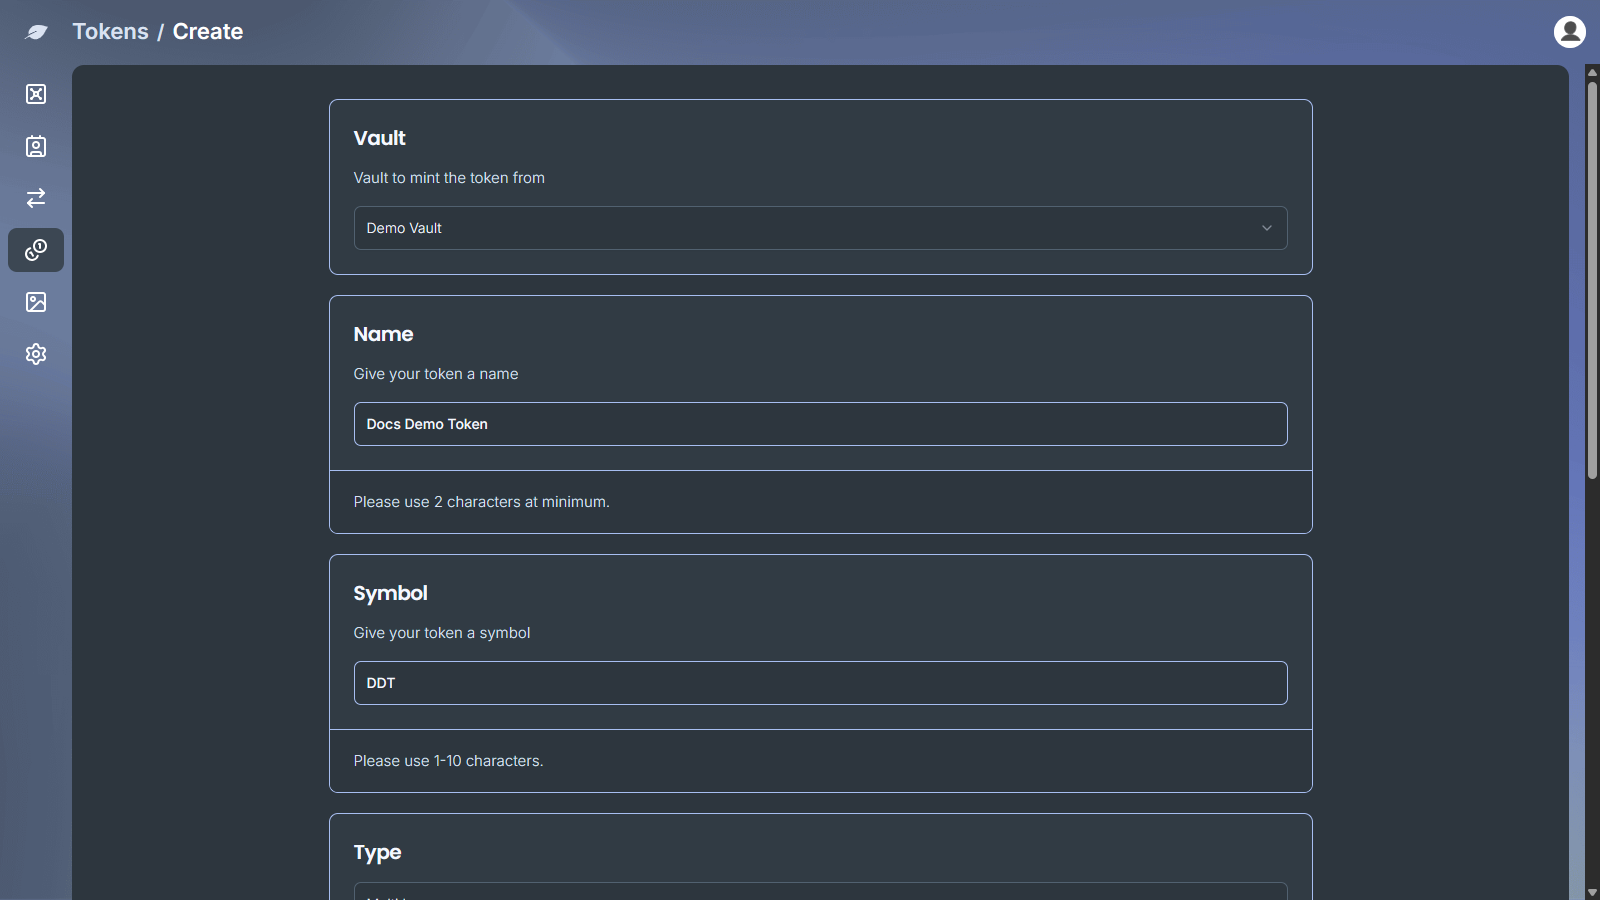
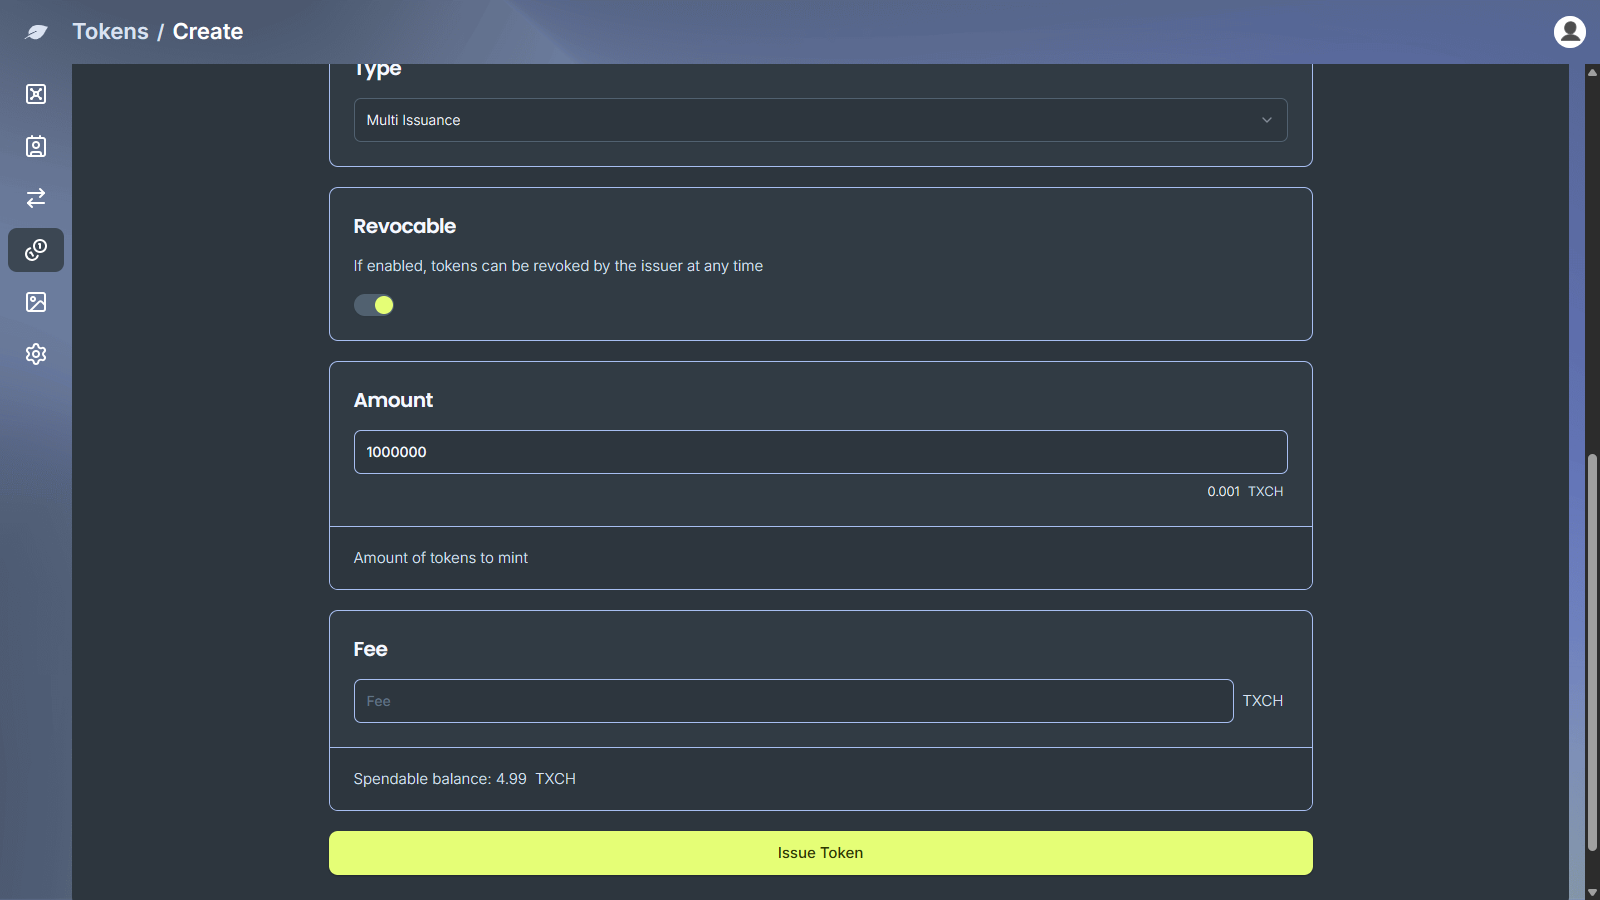
- Fill in the form:
Vault: the vault to mint the token from. This vault becomes the token's minting vault and receives the new tokens.Name: 2 to 32 charactersSymbol: 1 to 10 charactersType:Single IssuanceorMulti Issuance(see Issuance types)Revocable: shown only forMulti Issuance, and on by default. If enabled, tokens can be revoked by the issuer at any time.Amount: the number of tokens to mintFee: an optional network fee in XCH.Spendable balanceshows the XCH available in the selected vault.
- Click
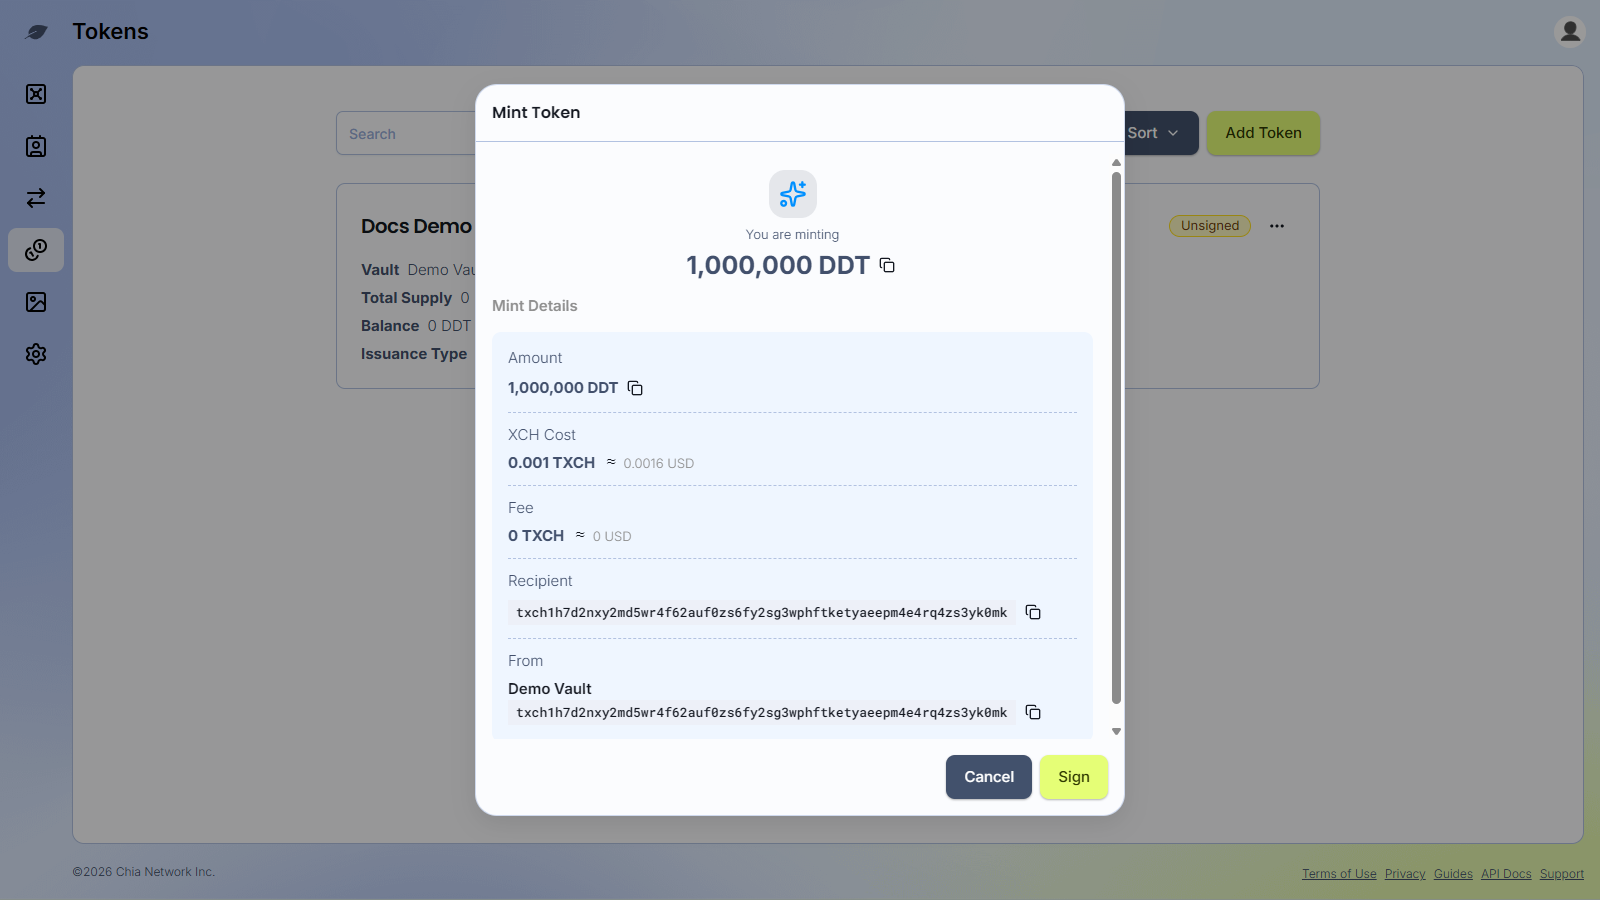
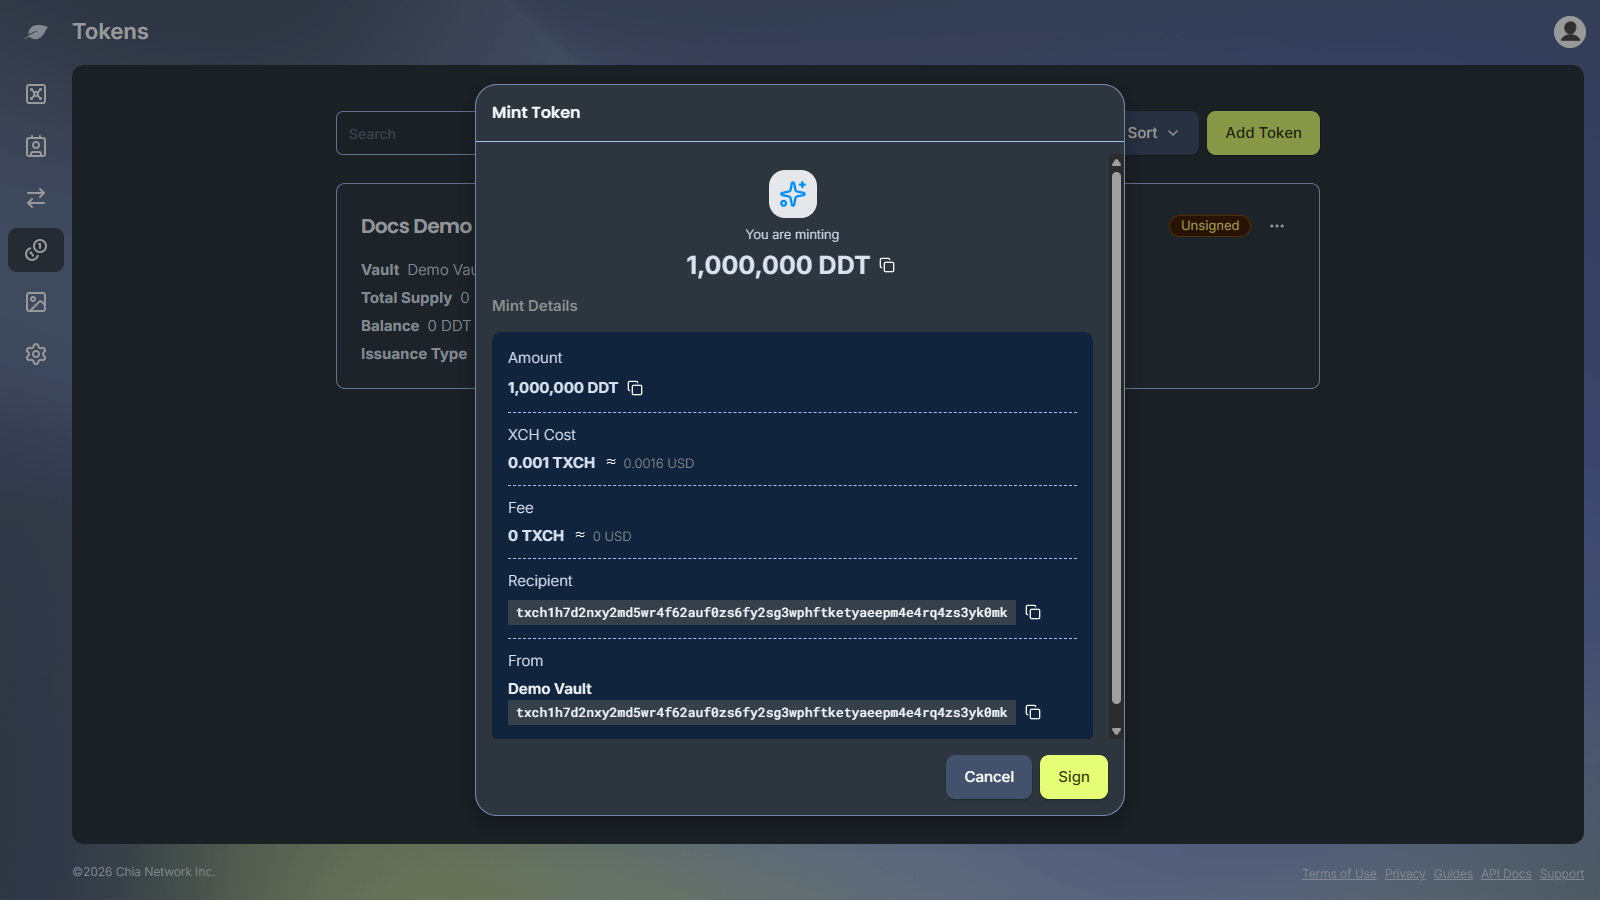
Issue Token. TheMint Tokendialog shows the amount, theXCH Cost, the fee, and the receiving vault.
- Click
Signto approve with your passkey, or approve the request in the Chia Signer app.
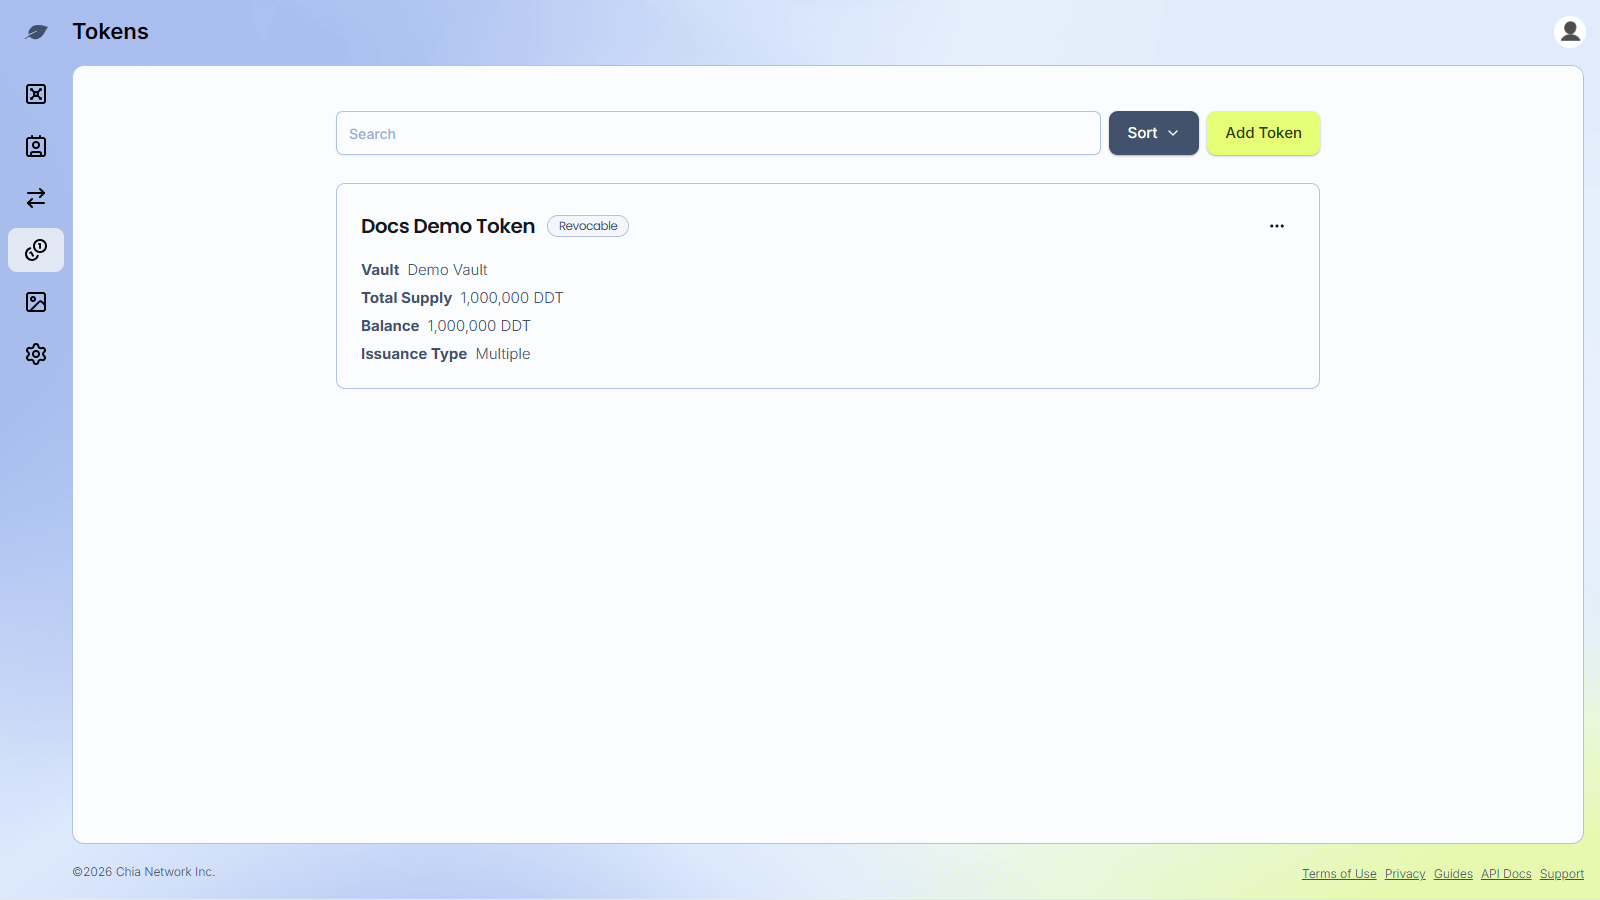
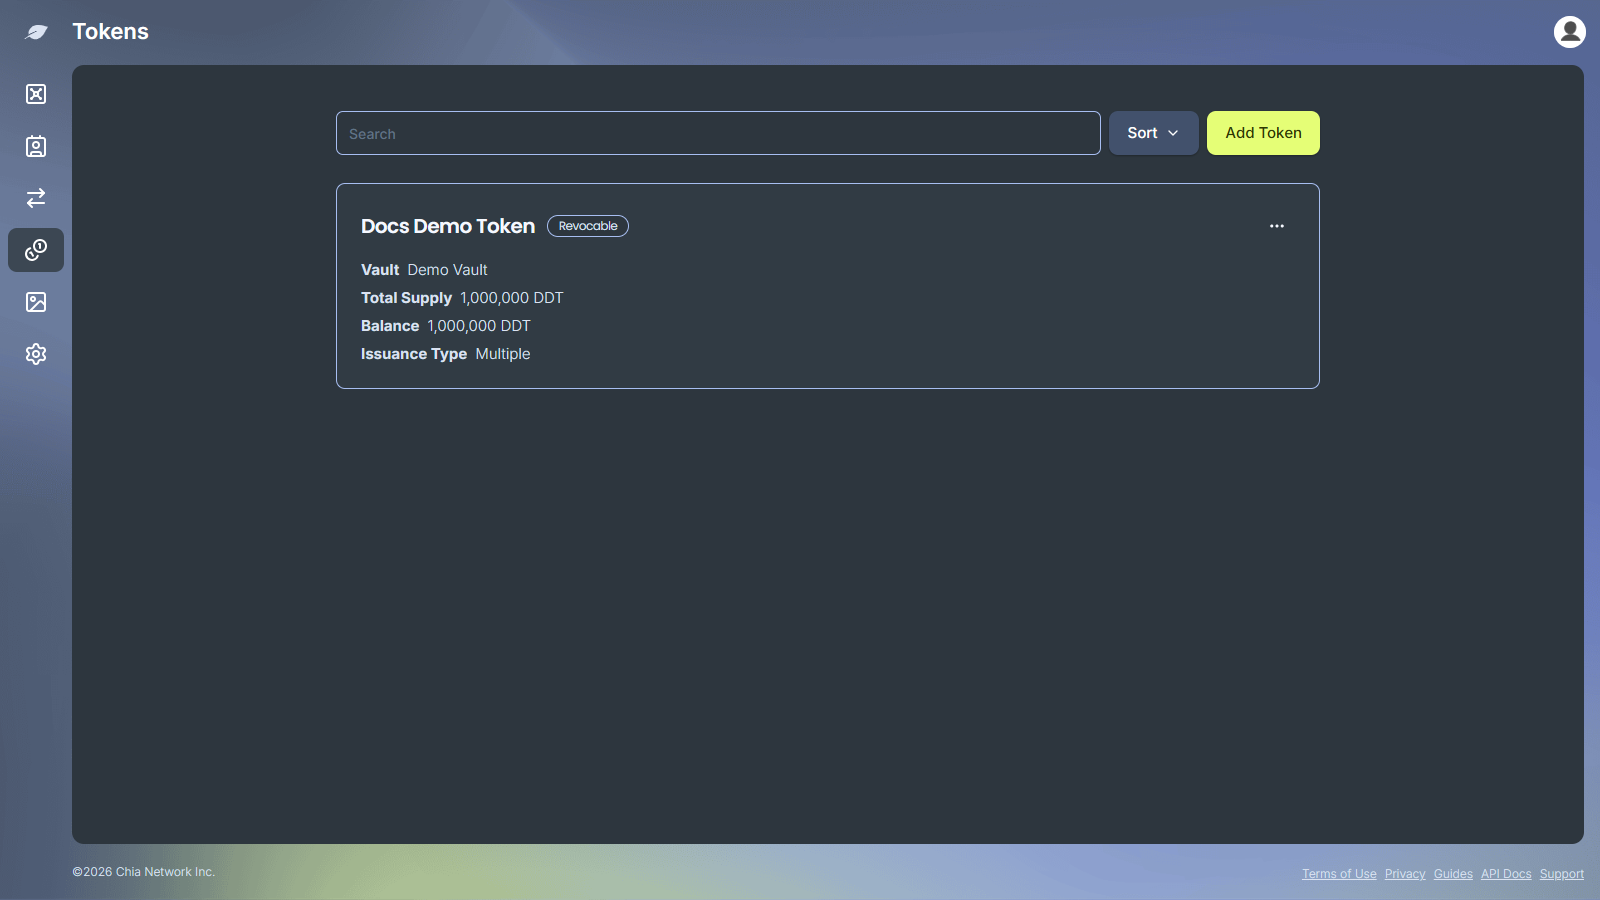
The new token appears on the Tokens page right away. Its Total Supply and Balance show 0 until the transaction confirms. After that, the tokens also appear on the minting vault's Tokens tab and you can send them like any other CAT. A mint with no fee can take longer to confirm.
Issuance types
| Type | Supply | Revocable |
|---|---|---|
Single Issuance | Fixed. You cannot mint more after the first issuance. | No |
Multi Issuance | You can mint more later from the same vault. | Optional, set at mint |
You cannot change the type or the Revocable setting after the token is created.
View a token you created
Click a token on the Tokens page to open its details. The page shows the Asset ID, Minting Vault, Symbol, Issuance Type, Revocable?, Total Issued, Total Melted, Total Supply, and Balance Held (tokens the minting vault still holds).
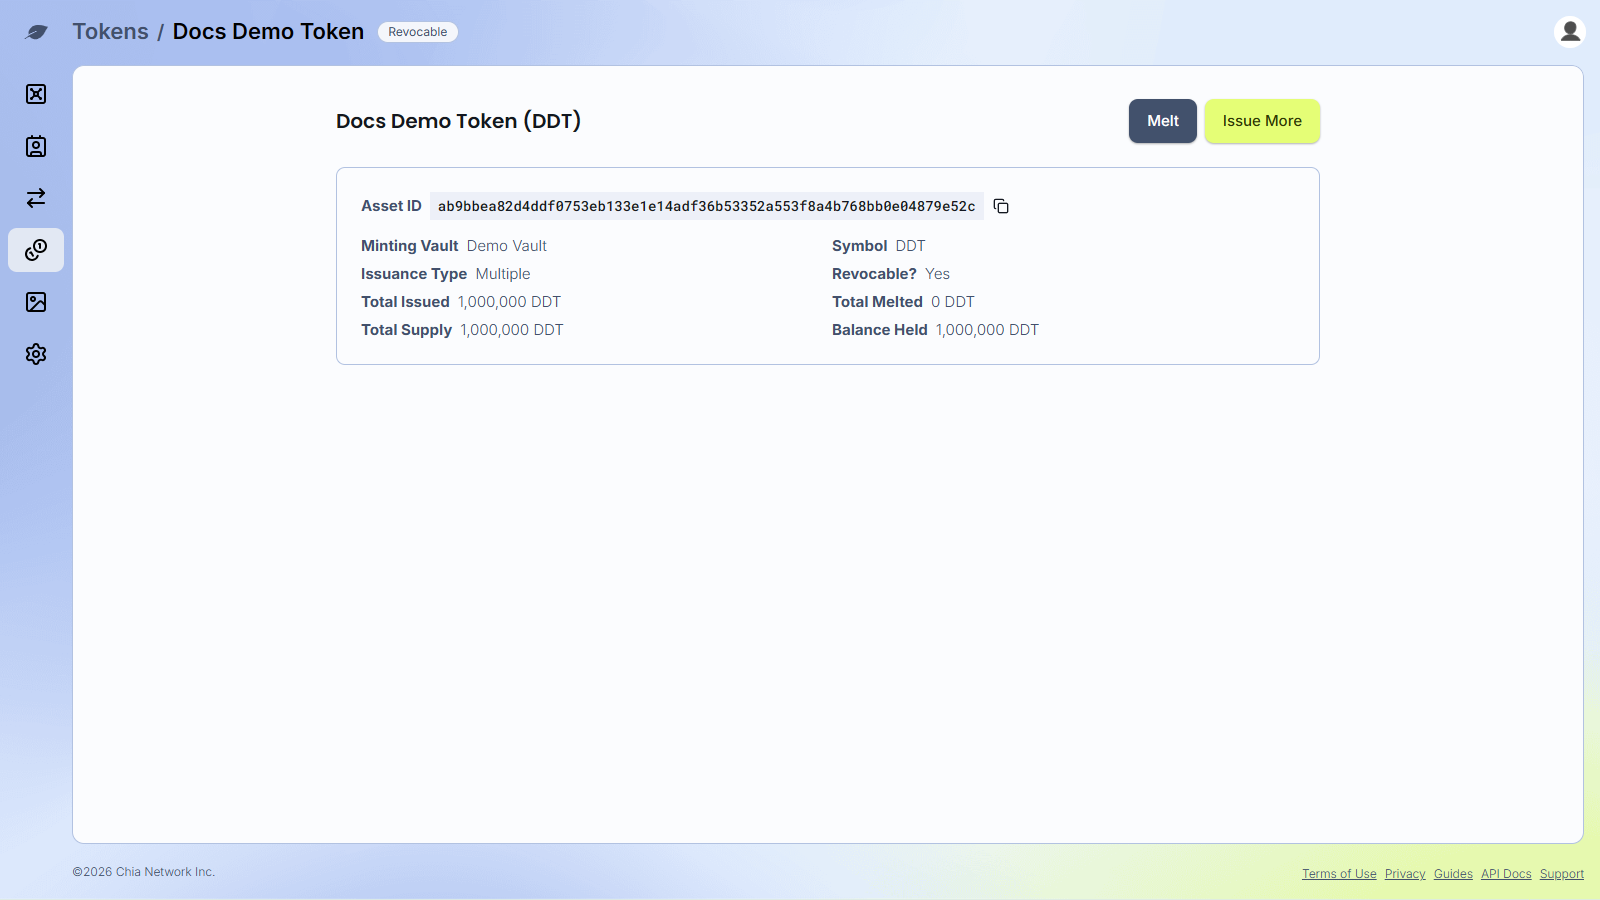
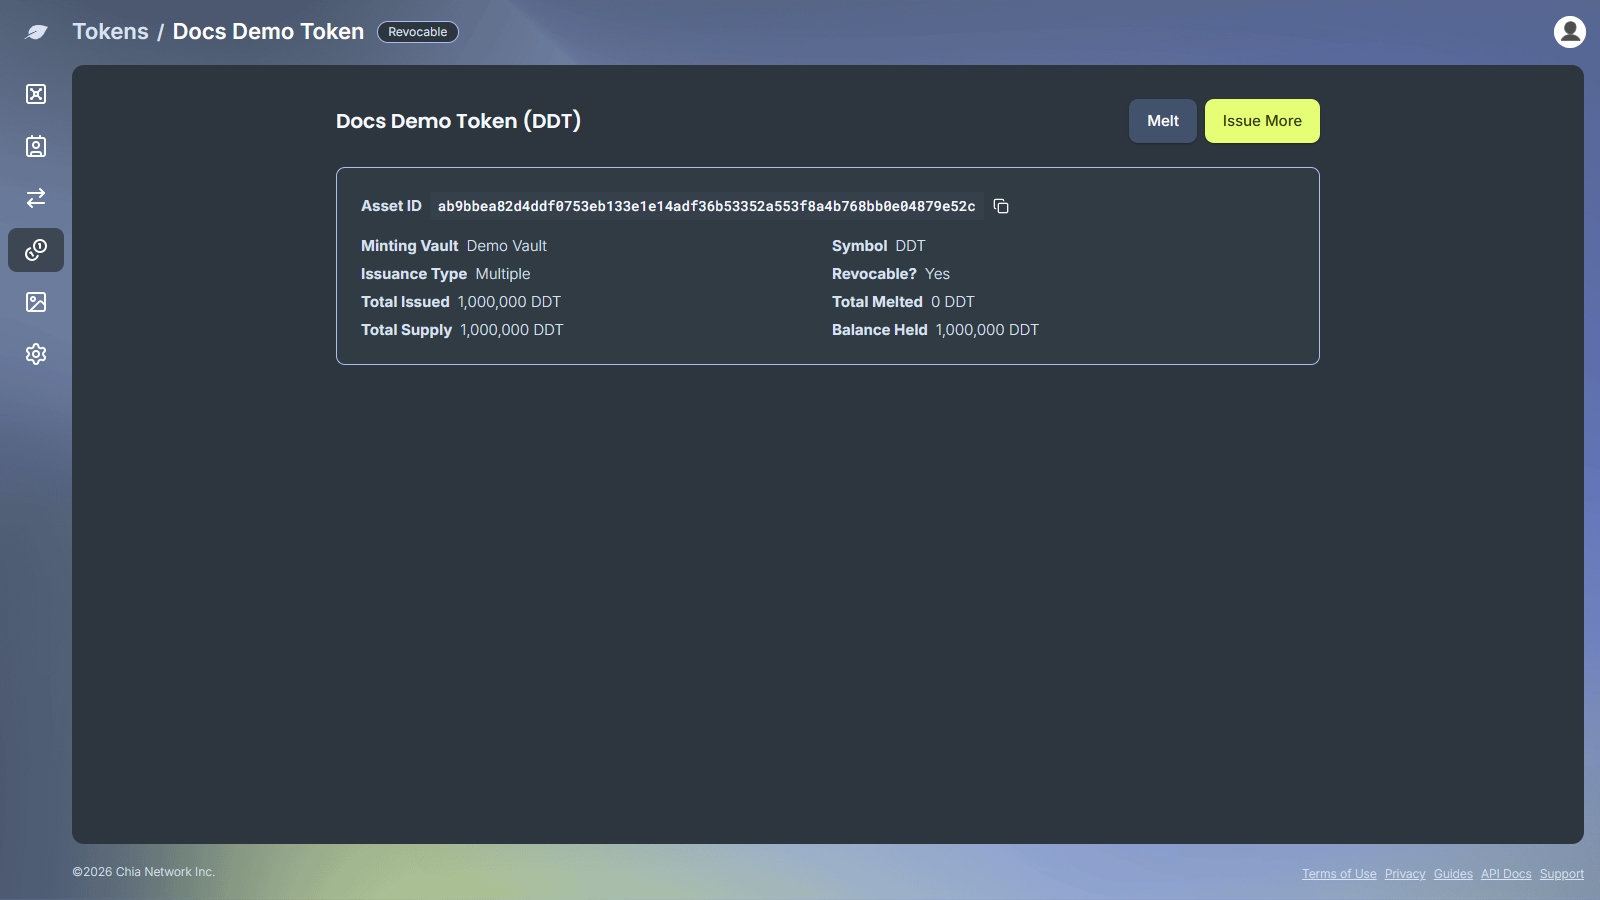
Share the Asset ID with anyone who wants to add your token to their wallet.
Issue more tokens
For a Multi Issuance token, you can mint more at any time:
-
Open the token from the
Tokenspage and clickIssue More(or chooseIssue Morefrom the token card's menu). -
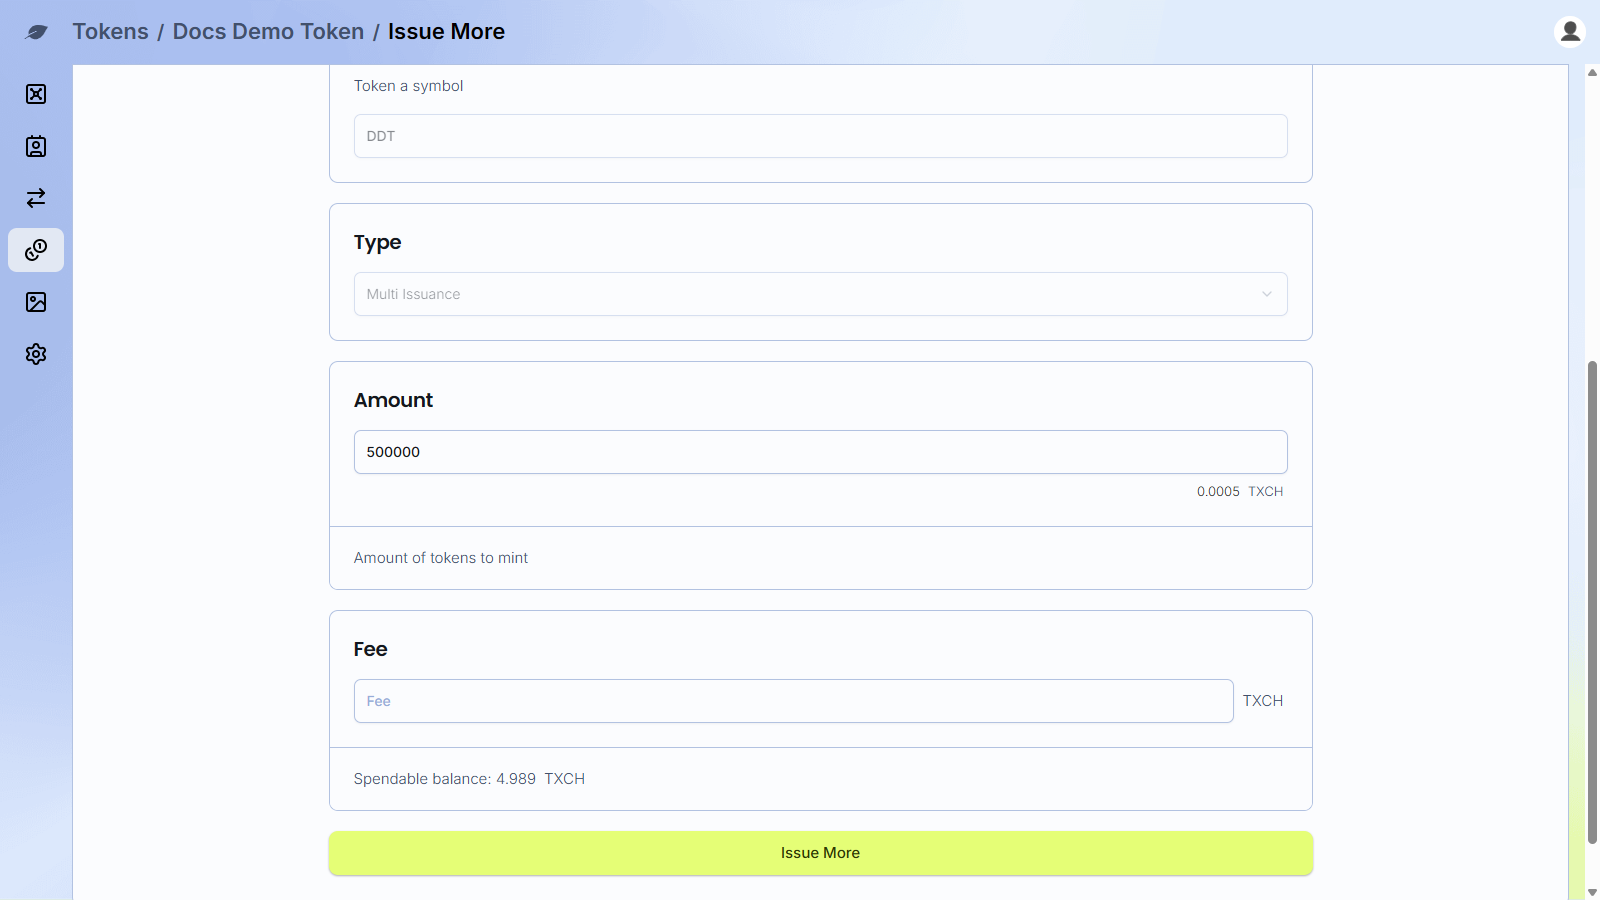
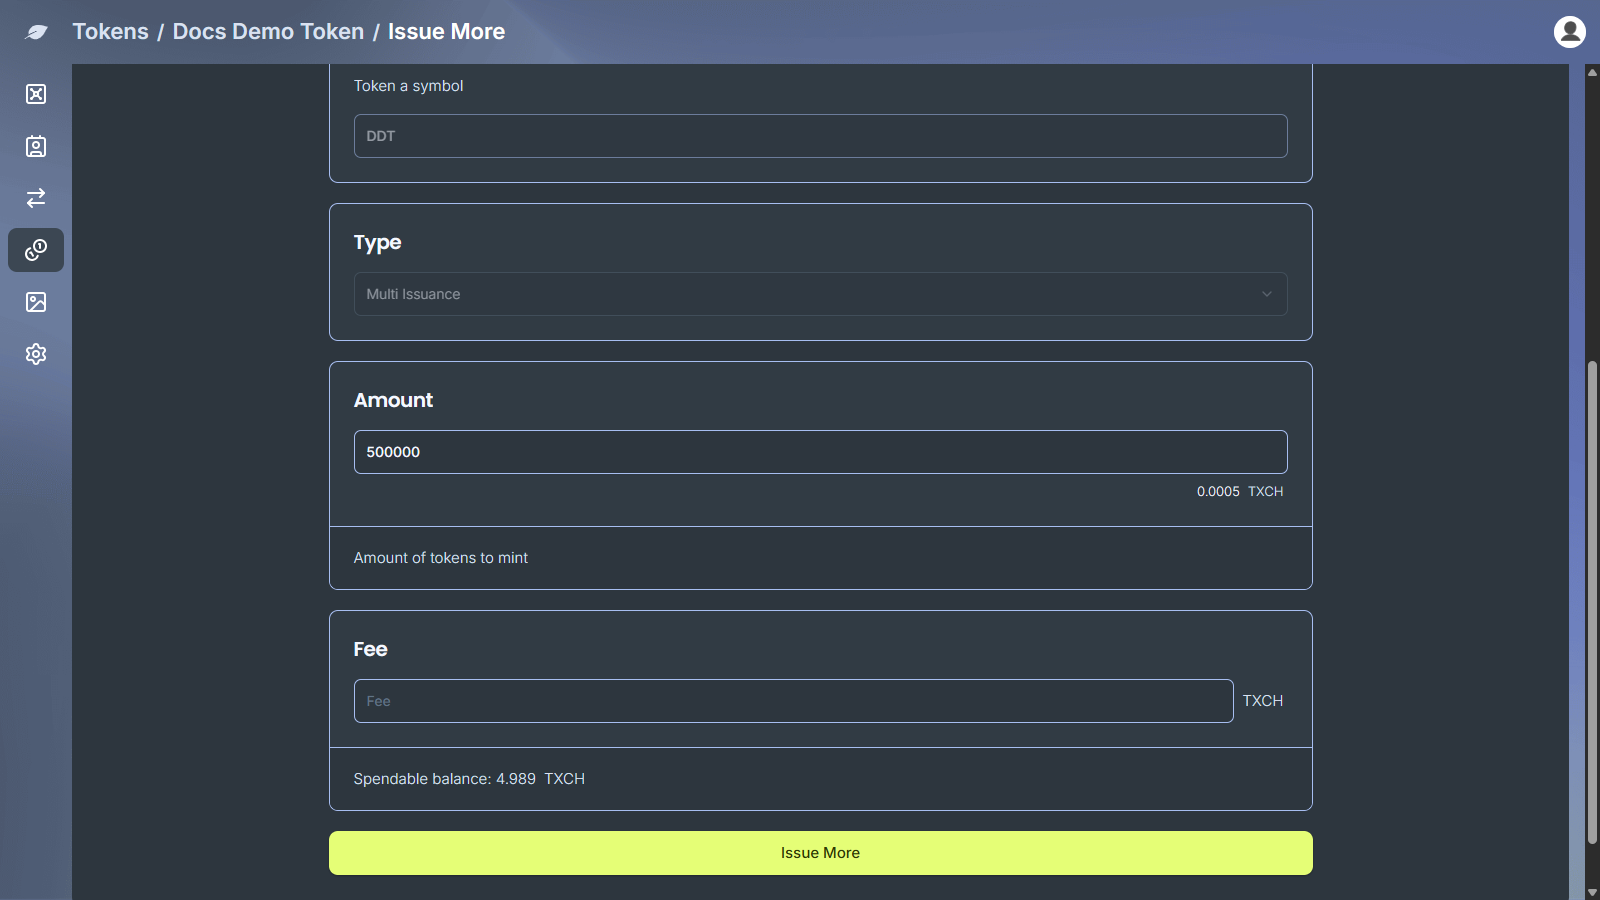
Minted From,Name,Symbol, andTypeare filled in and cannot be changed. Enter theAmountand an optionalFee.
- Click
Issue More, then approve the transaction.
Melt tokens
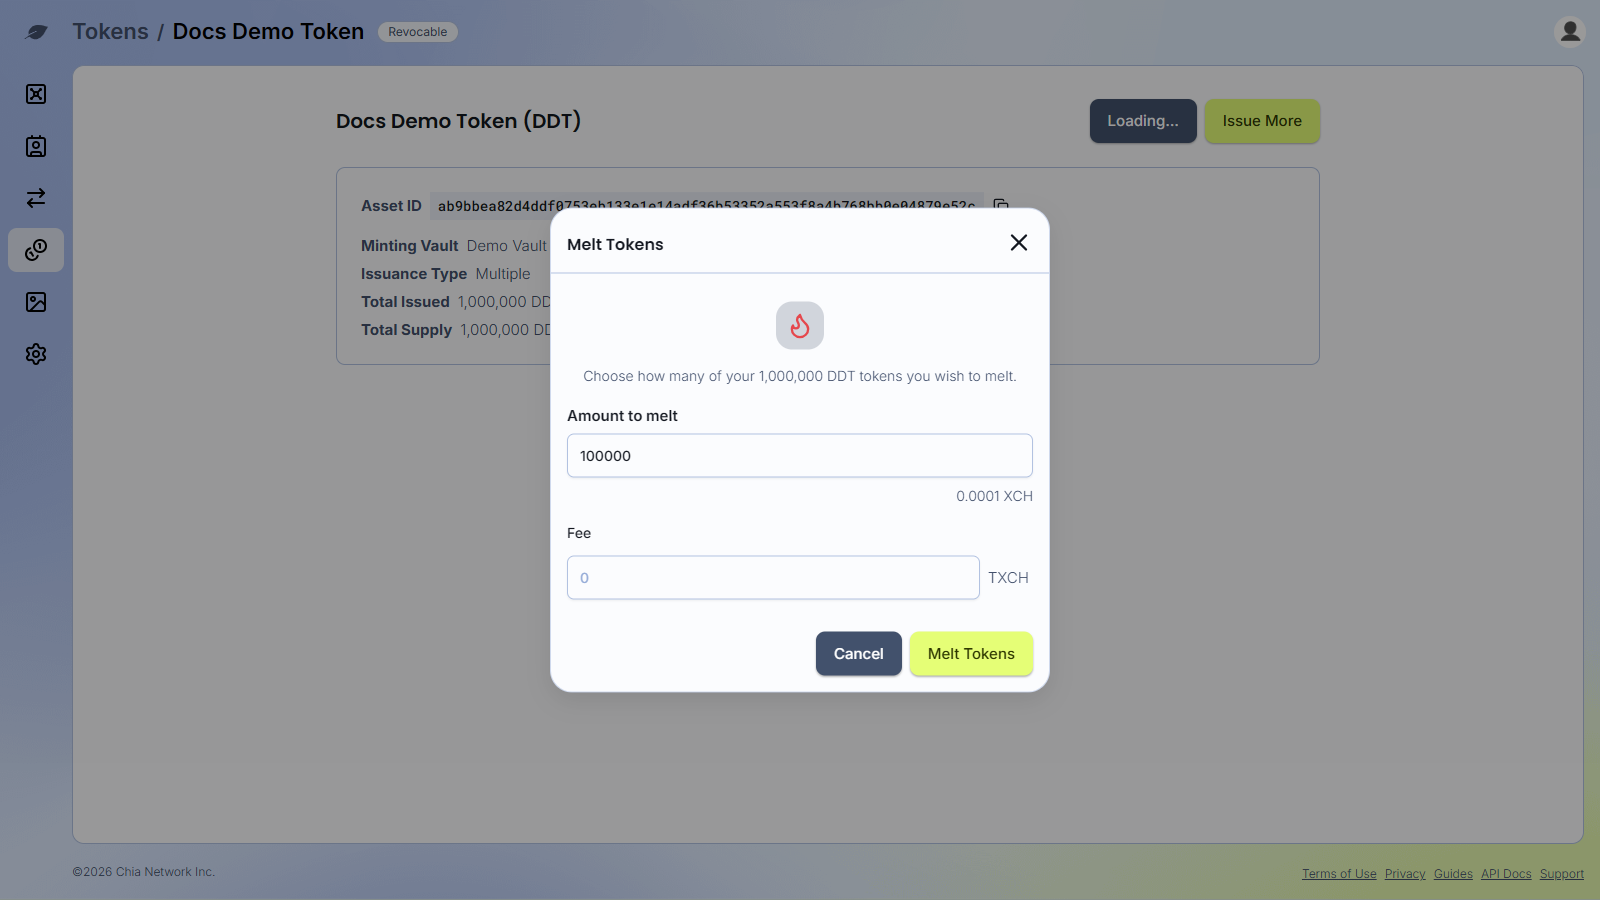
Melting destroys tokens and returns the XCH that backs them to the minting vault. Only Multi Issuance tokens created with Revocable on can be melted, and only from the tokens the minting vault still holds.
-
Open the token from the
Tokenspage and clickMelt. -
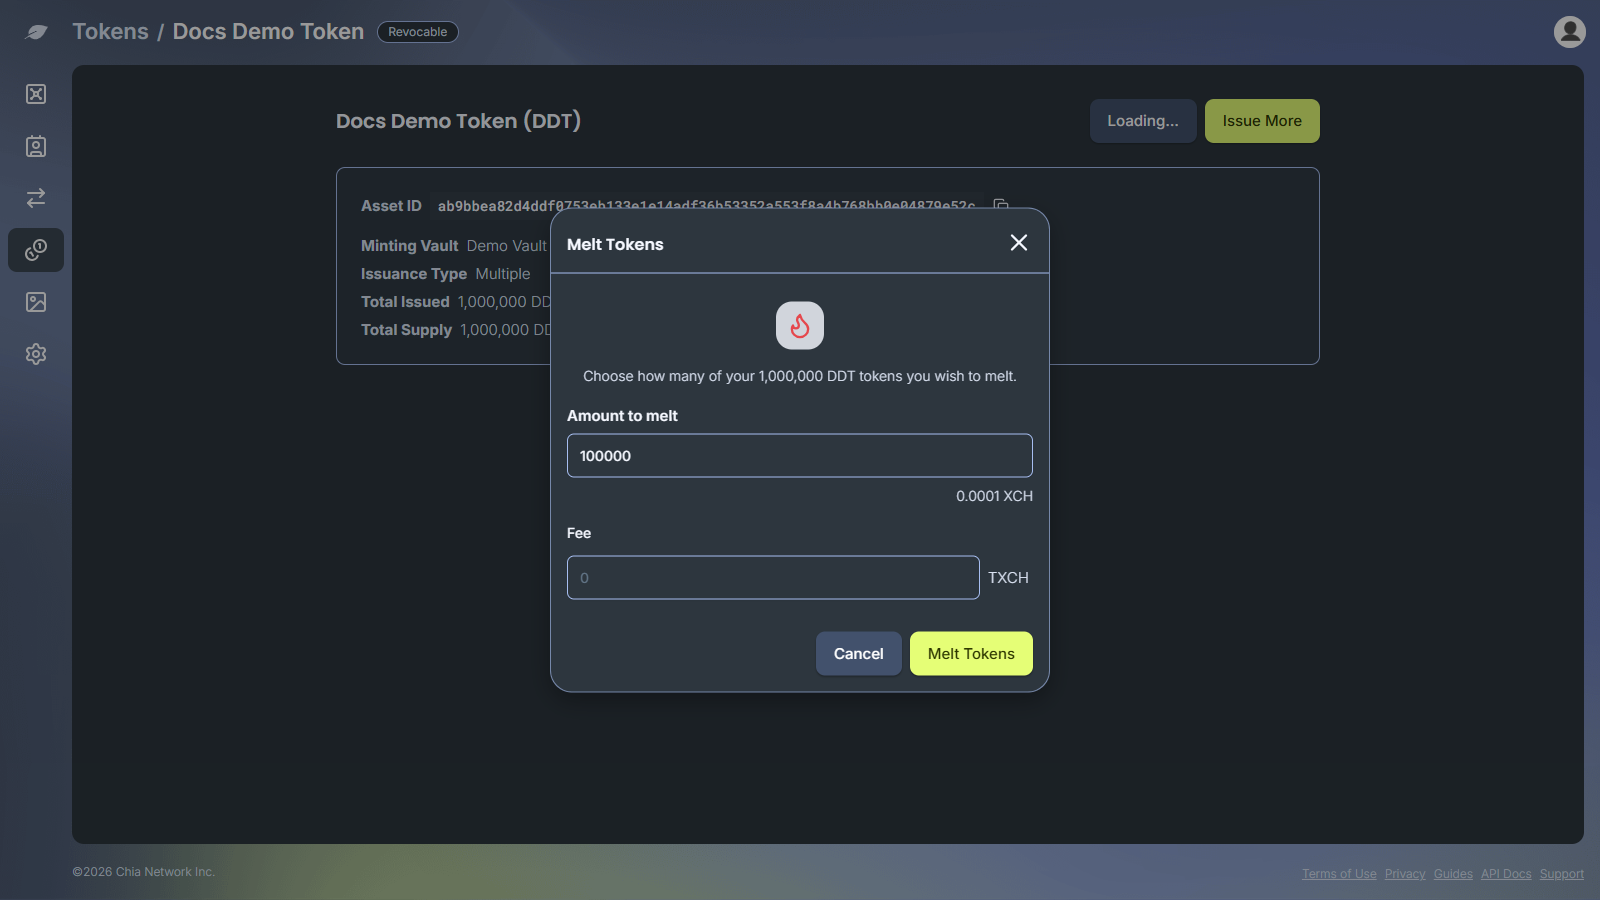
In the
Melt Tokensdialog, enter theAmount to meltand an optionalFee. The XCH you get back shows under the amount.
- Click
Melt Tokens, then approve the transaction.
The minting vault needs some XCH to melt tokens, even if you do not pay a fee.
Plan limits
Your plan sets how many tokens you can create. The free plan allows up to 50 tokens. This counts every token you have created from your vaults. Issuing more of an existing token or melting tokens does not change the count. When you reach the limit, Add Token is disabled and shows Upgrade your plan to create more tokens.
Custom name and ticker
You can set a display name and ticker (token symbol) for a CAT you hold. This only changes how the token appears in your Cloud Wallet. It does not change the token on the blockchain.
-
Open
Settings, then open theTokenstab. -
Click
Add Token Details(orAdd a token's detailsif you have not added any yet). -
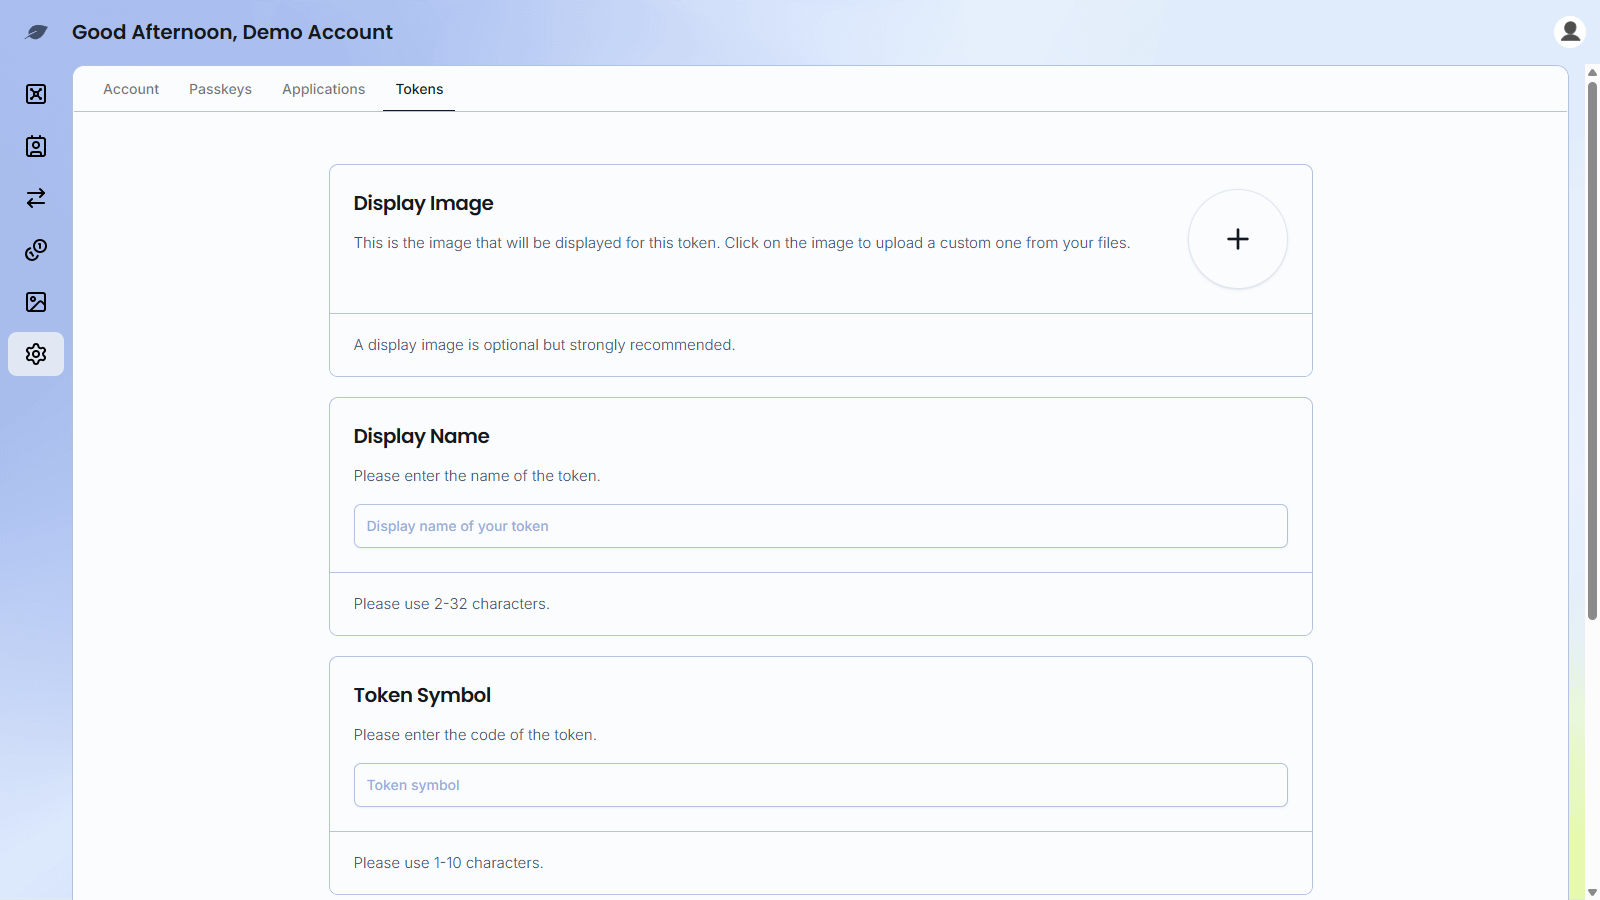
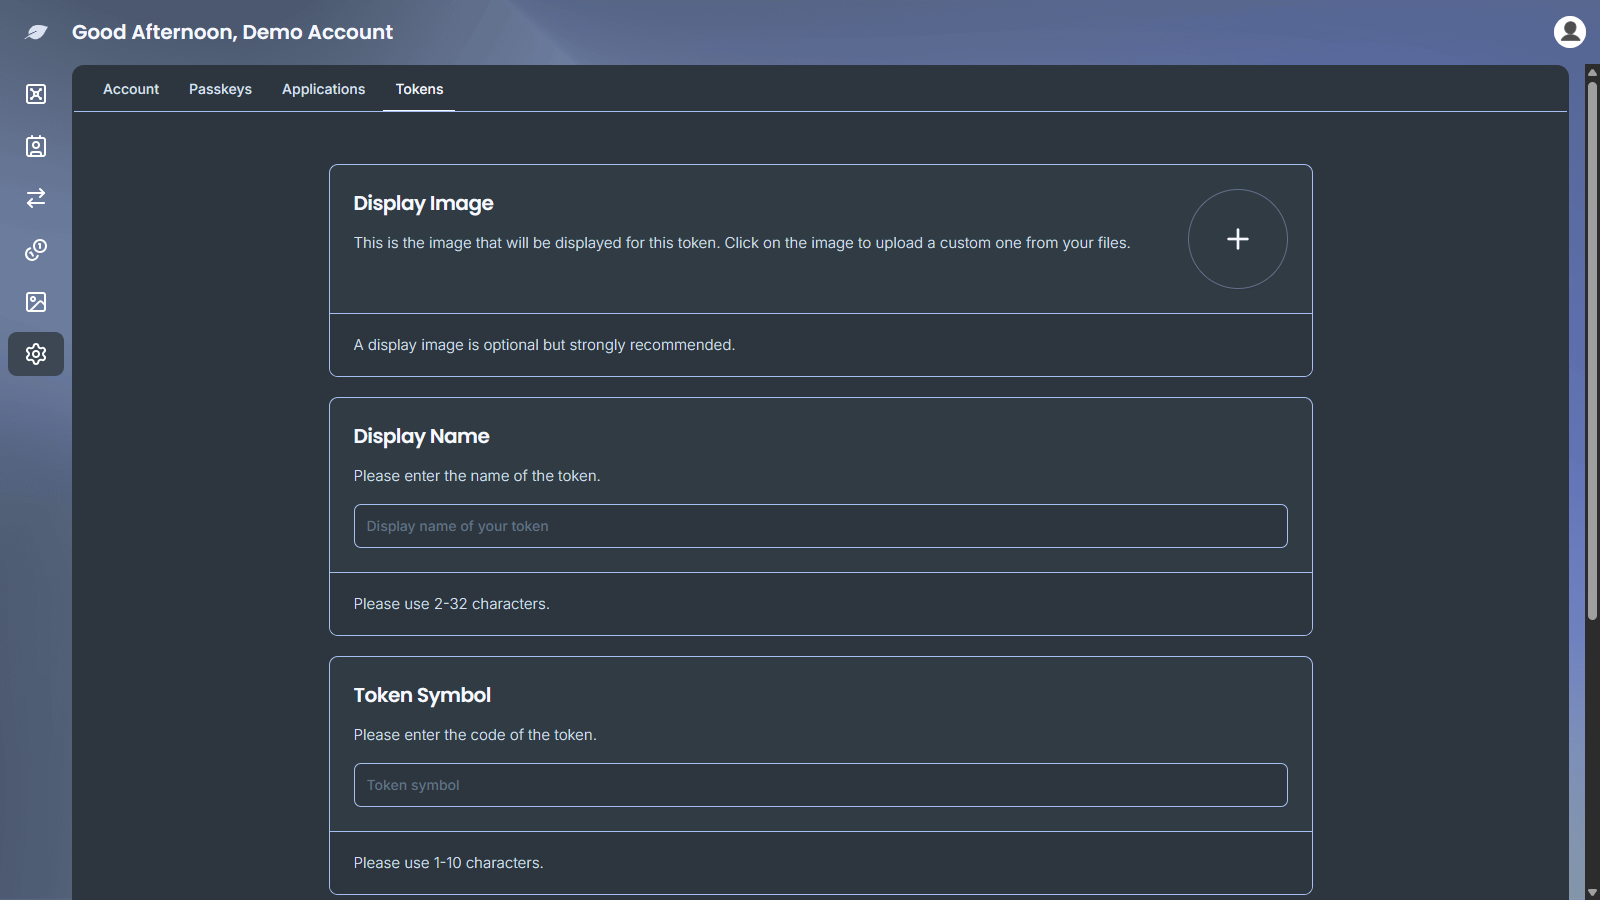
Fill in:
Display Name(2 to 32 characters)Token Symbol(1 to 10 characters)Asset ID(exactly 64 characters). You can select a token you already hold, or paste an asset id.
The form also includes
Display Image. Image uploads are temporarily disabled. You can still save a display name and ticker without an image.
- Click
Add Token Details.
To change labels later, open the token from Settings → Tokens or click Edit on the token asset page, update Display Name and Token Symbol, then click Update Token Details. Asset ID is read-only when you edit an existing entry.
Troubleshooting
- If a token does not appear on the
Tokenstab, confirm it was sent to this vault's address and wait for the transaction to confirm - If the vault is still being minted, wait until this clears:
This vault is currently being minted. You cannot perform transactions until the minting process is complete. - For send failures, check the token spendable balance and that the vault has enough XCH for the fee
- If
Issue TokenshowsAmount + fee exceeds available balance, add XCH to the selected vault or mint fewer tokens. Each token uses 1,000 mojos of XCH - If a token card on the
Tokenspage showsUnsigned, the mint was not signed. Open the card's menu and chooseSign & Submit, orCancelto discard it - If a token card shows
Failed to Mint, the mint did not complete. Open the card's menu and chooseRemove, then create the token again - If
Issue MoreorMeltis missing, check the token'sIssuance TypeandRevocable?values. OnlyMulti Issuancetokens can issue more, and only revocable tokens with aBalance Heldcan be melted - For signing problems, confirm your Chia Signer app or passkey can approve the send request
- For additional support, use In App Support